How to upload and configure thumbnails?
You will learn How to upload and configure thumbnails. By watching our video or reading our in depth documentation.
Uploading Thumbnails
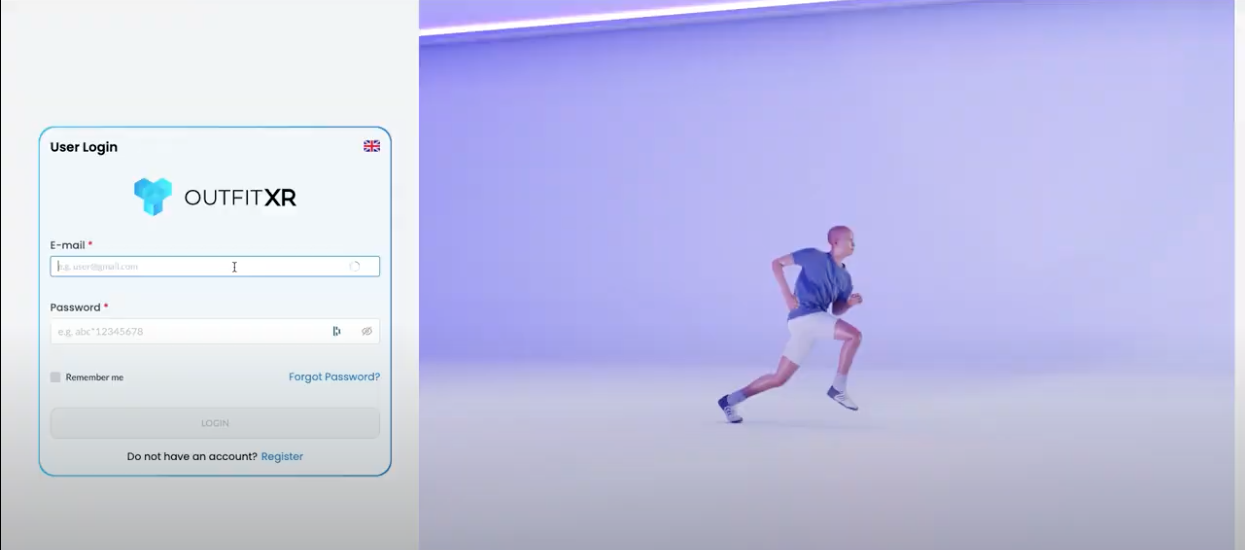
Log in with the account you want to use for adding or changing thumbnails.
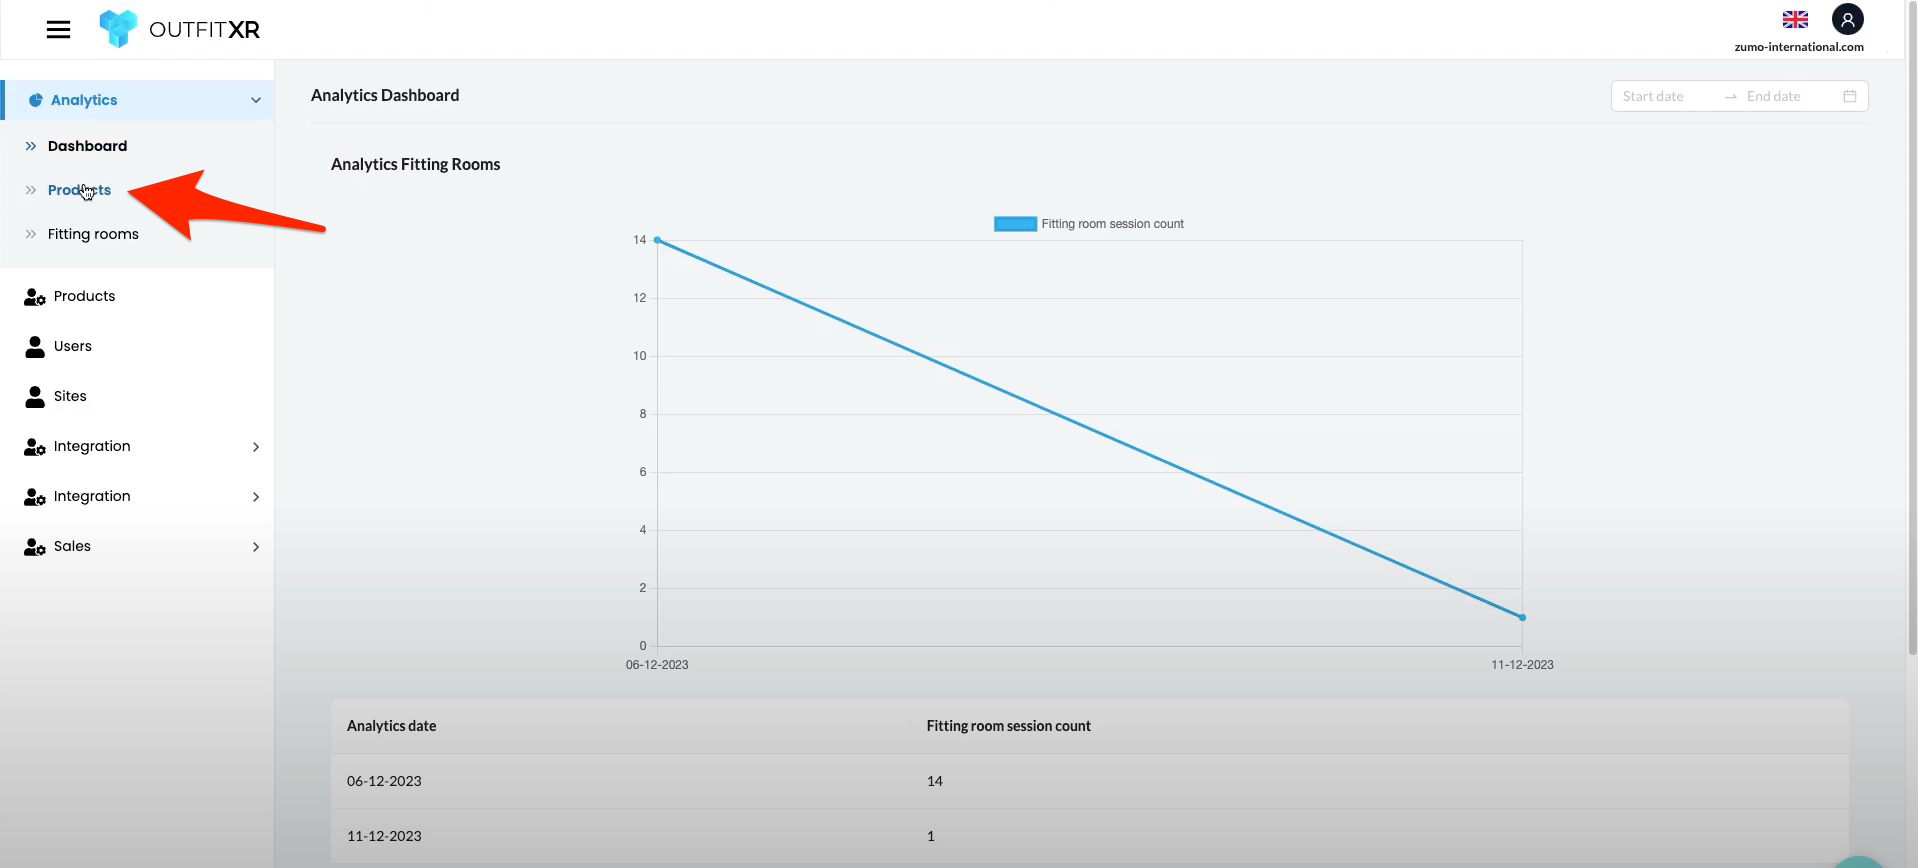
Click on 'Products' in the left-hand navigation menu.
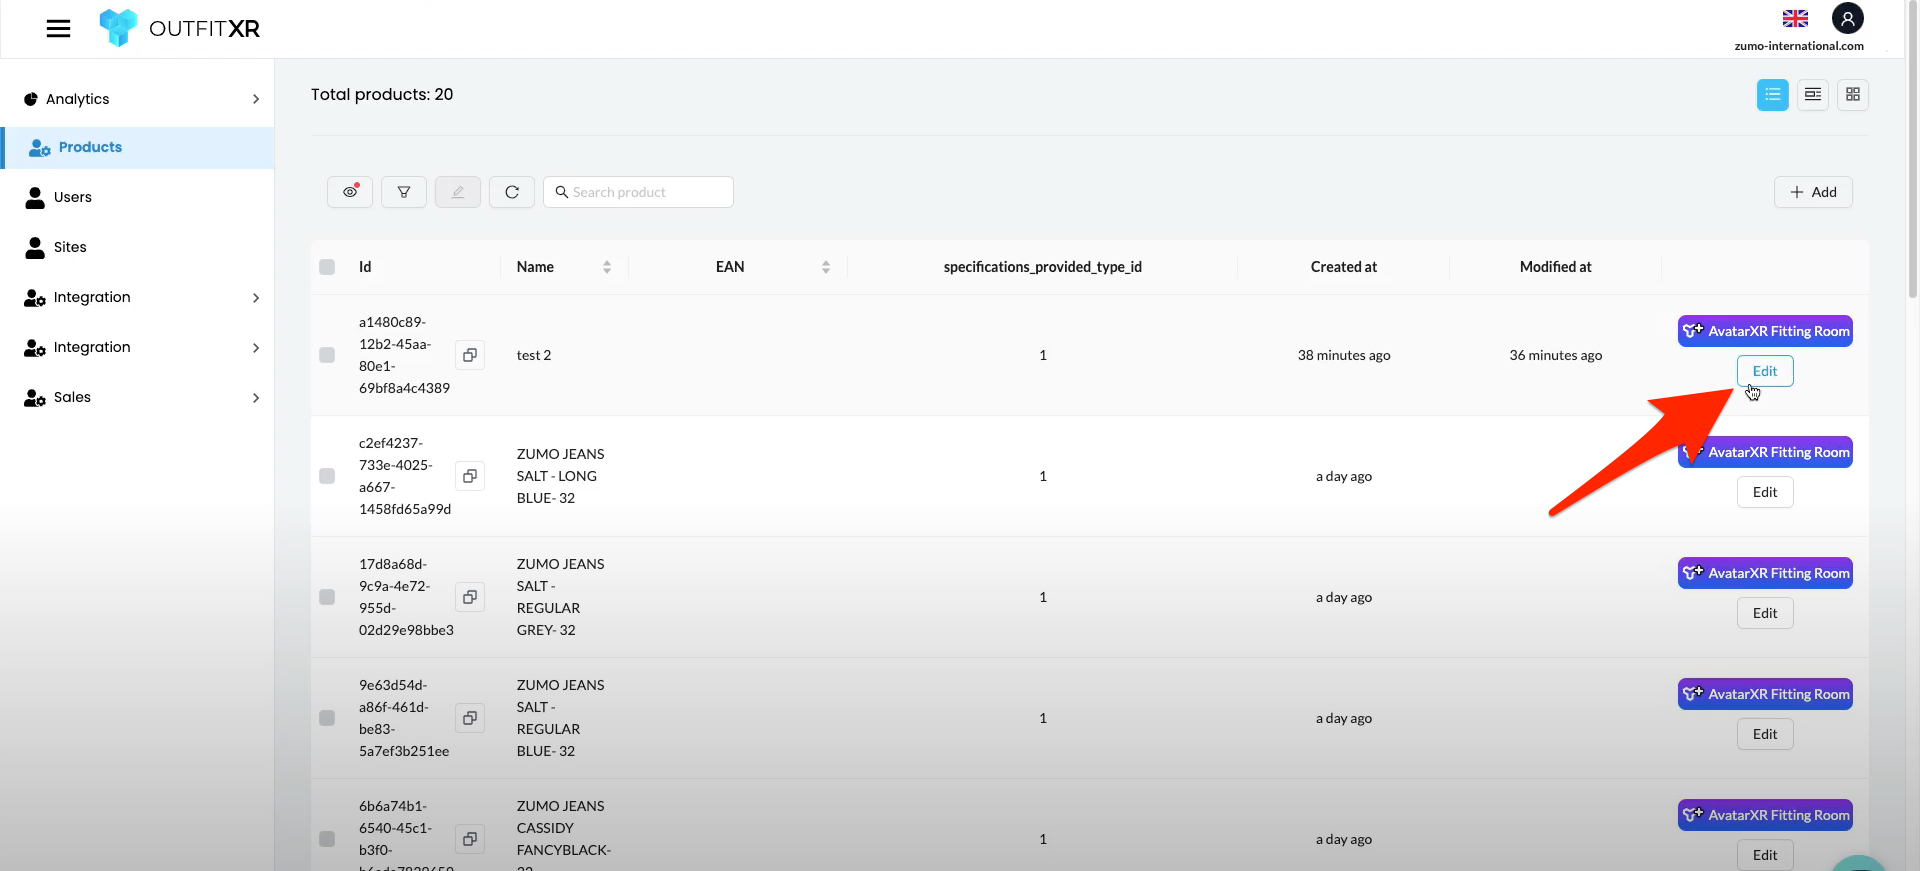
Click on 'Edit' next to the product for which you want to change the thumbnail.
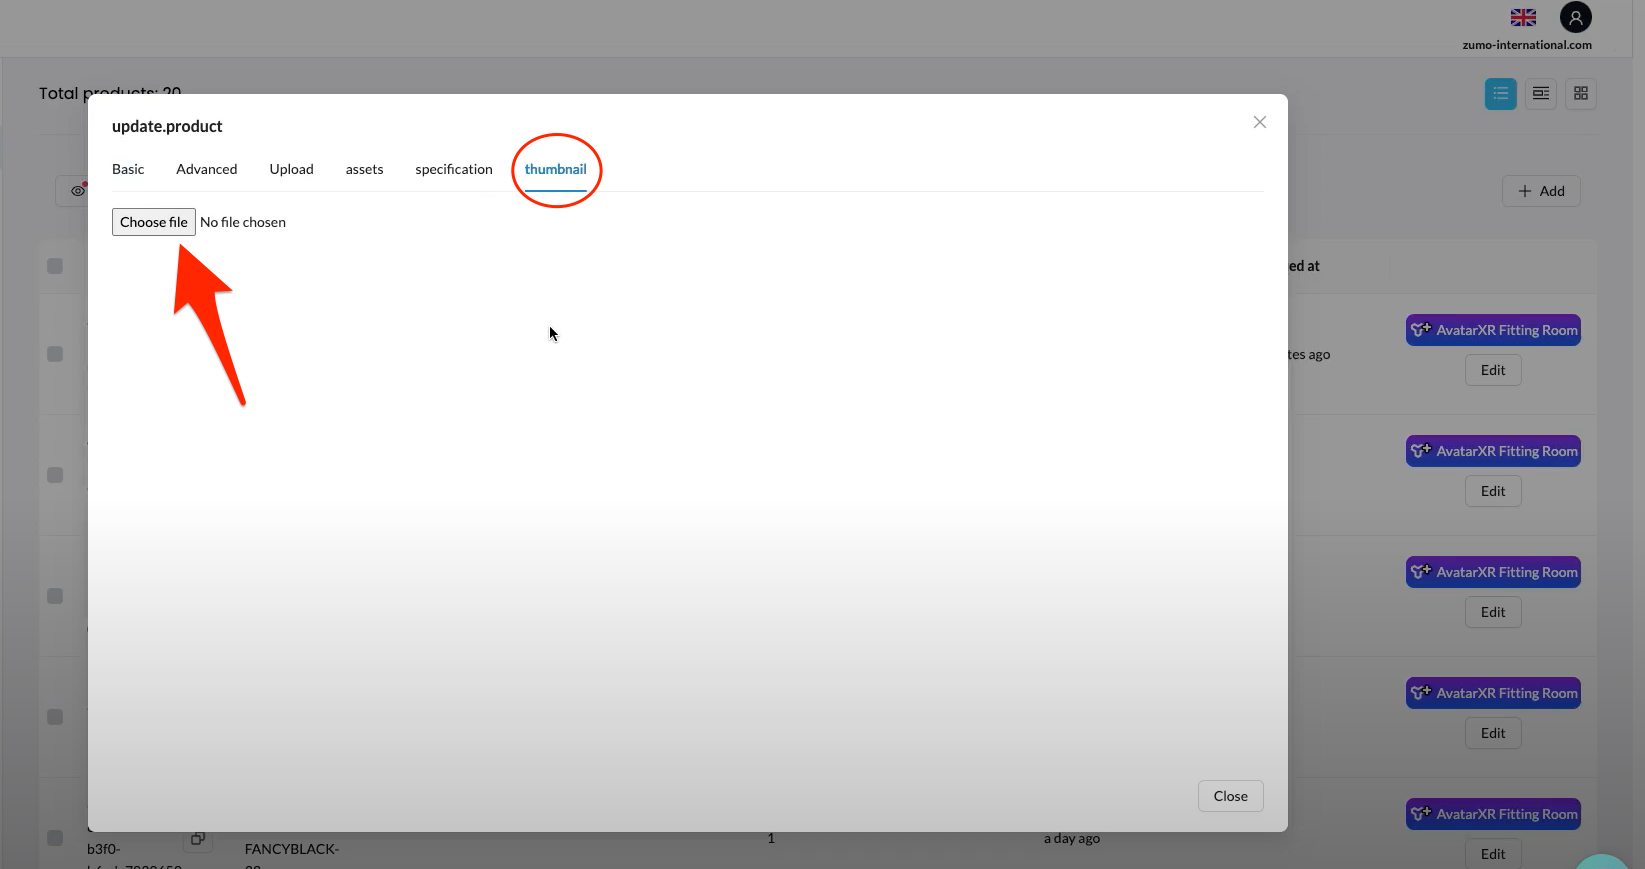
Click on the “thumbnail” tab, then on 'Choose file' to select your new thumbnail.
Configure Thumbnails
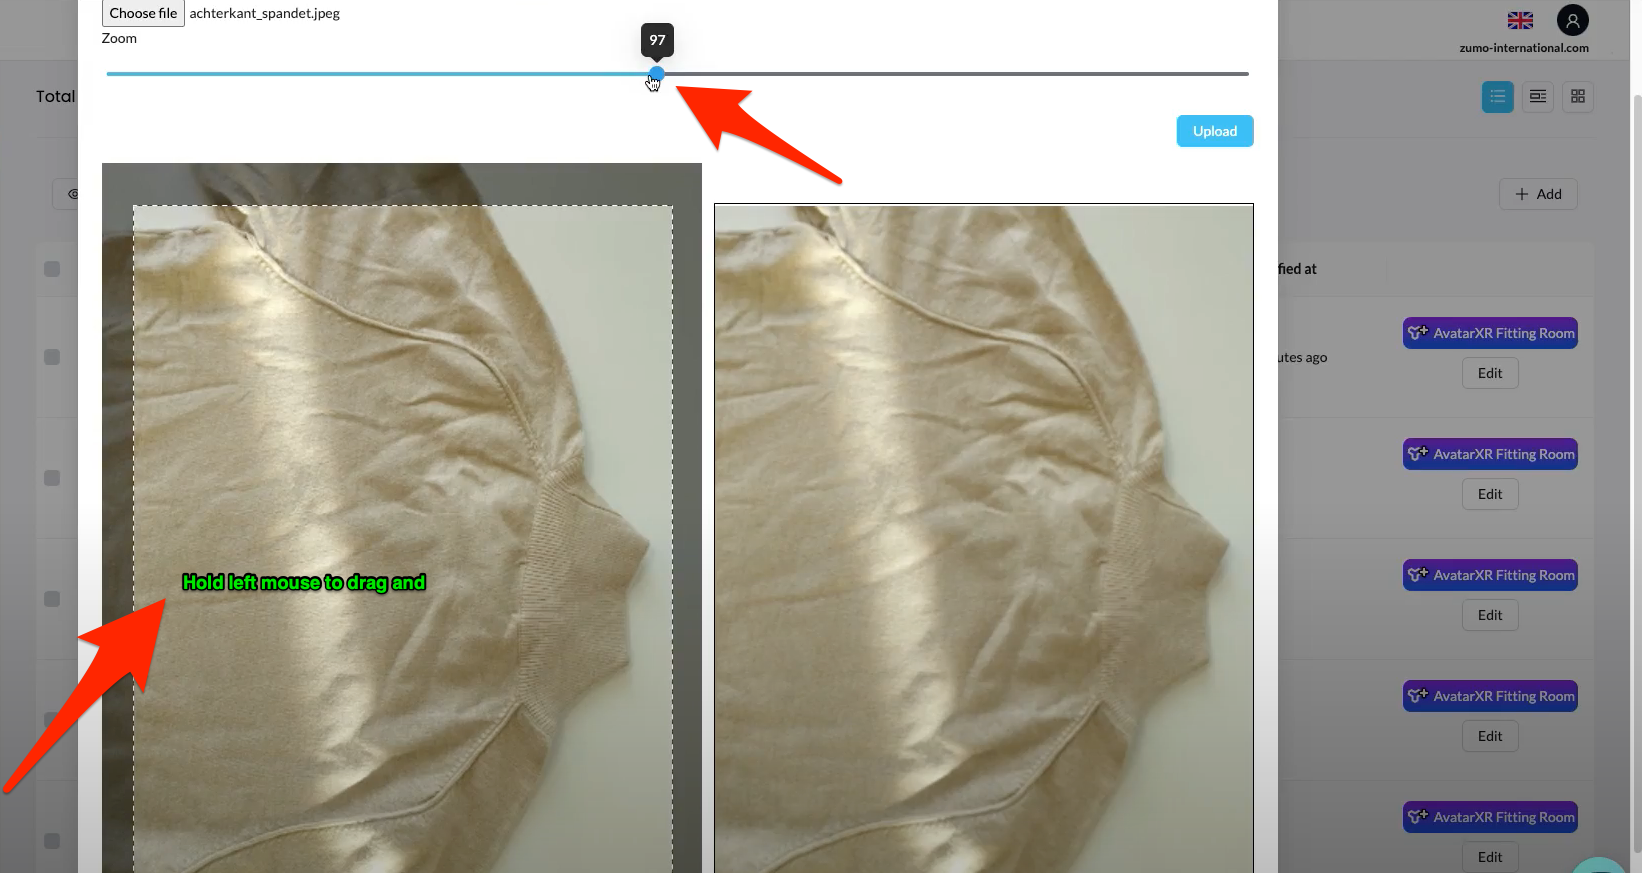
Crop the thumbnail as desired, making sure it's well-framed.
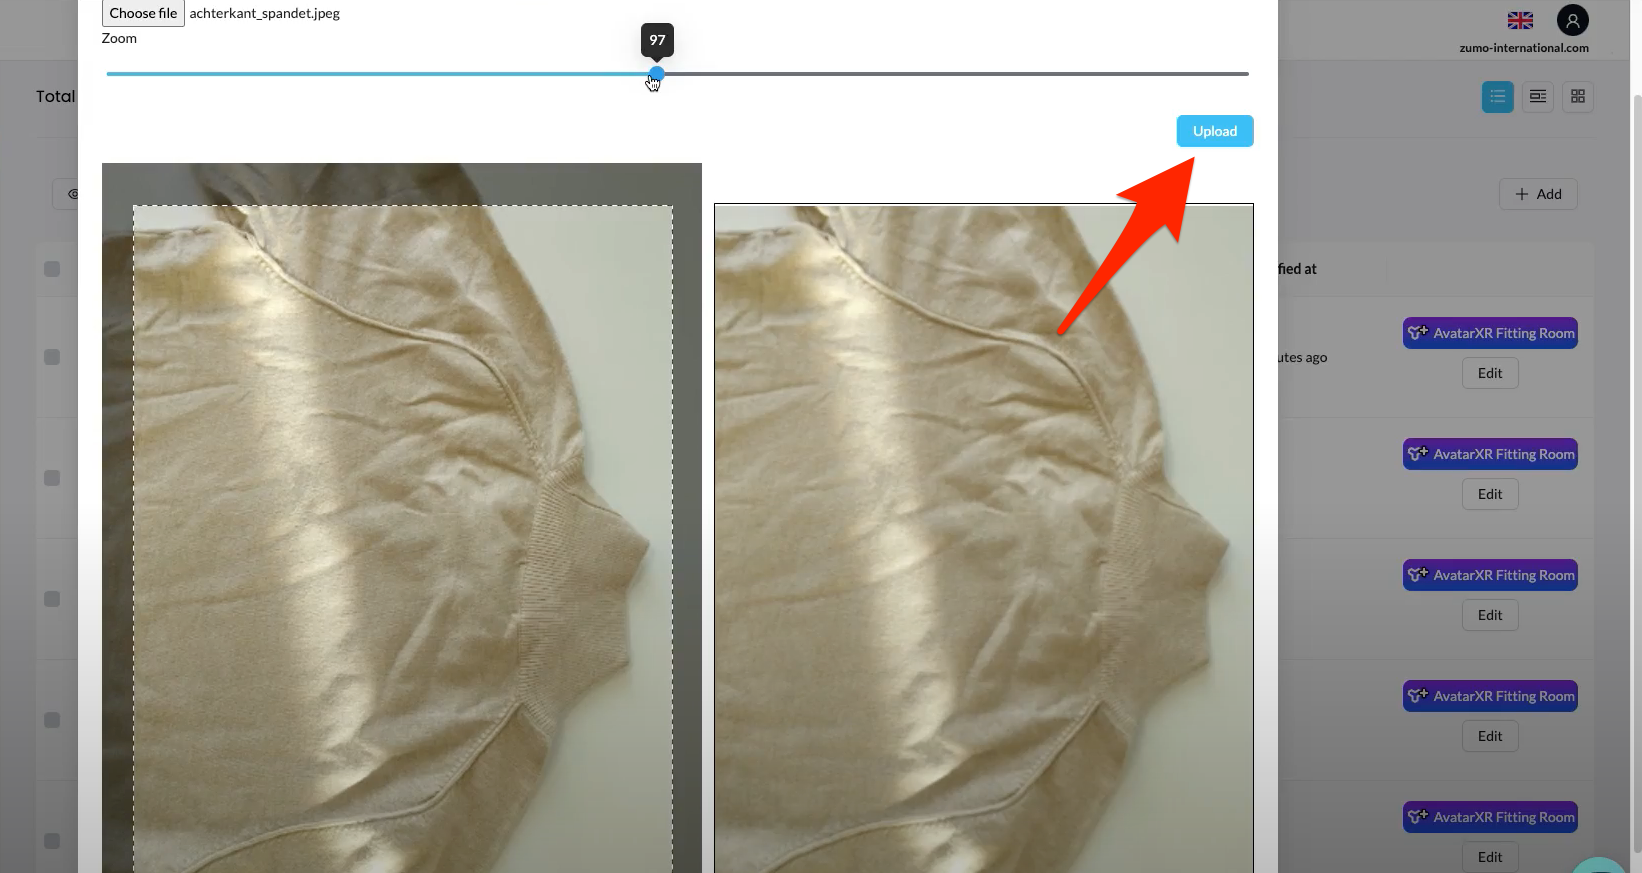
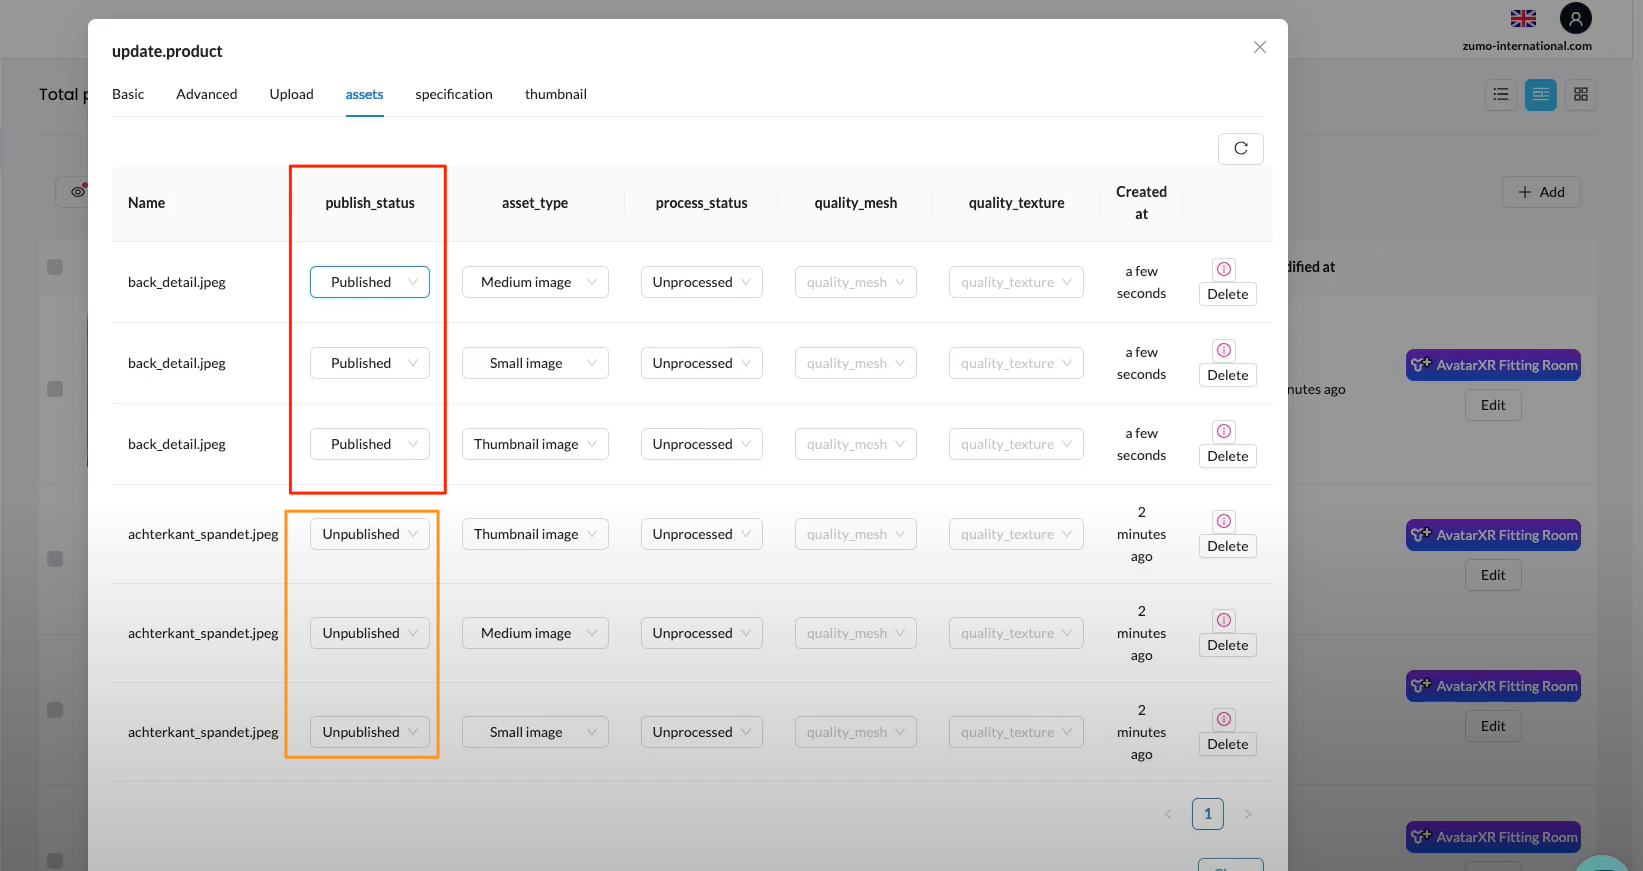
6. Click on “Upload”. You will be automatically taken to the 'assets' page to see all thumbnail.
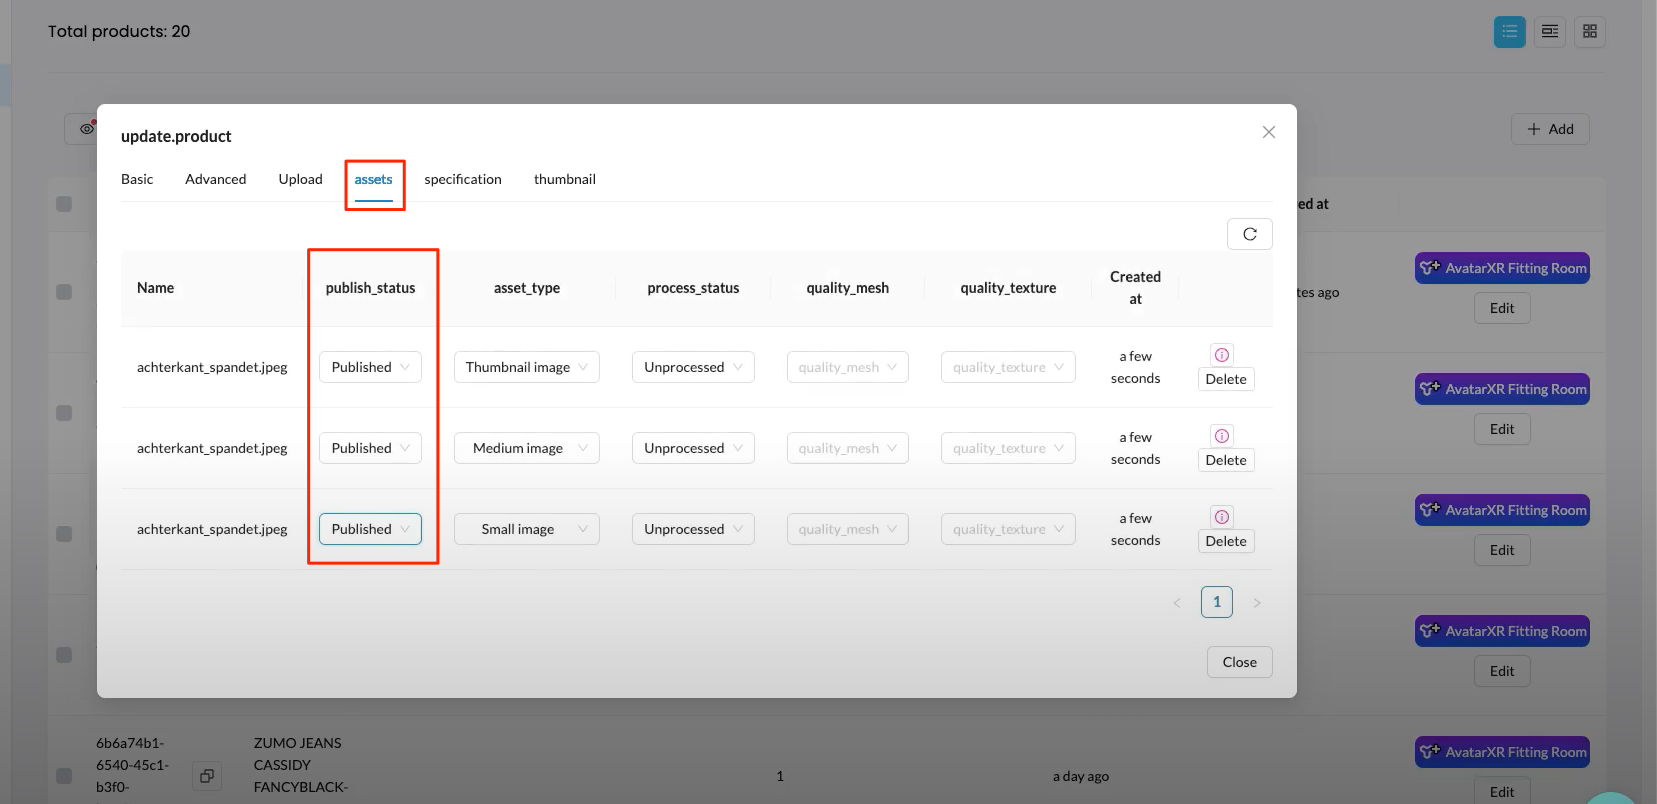
Change any 'Unpublished' to 'Published' under 'Publish_status'.
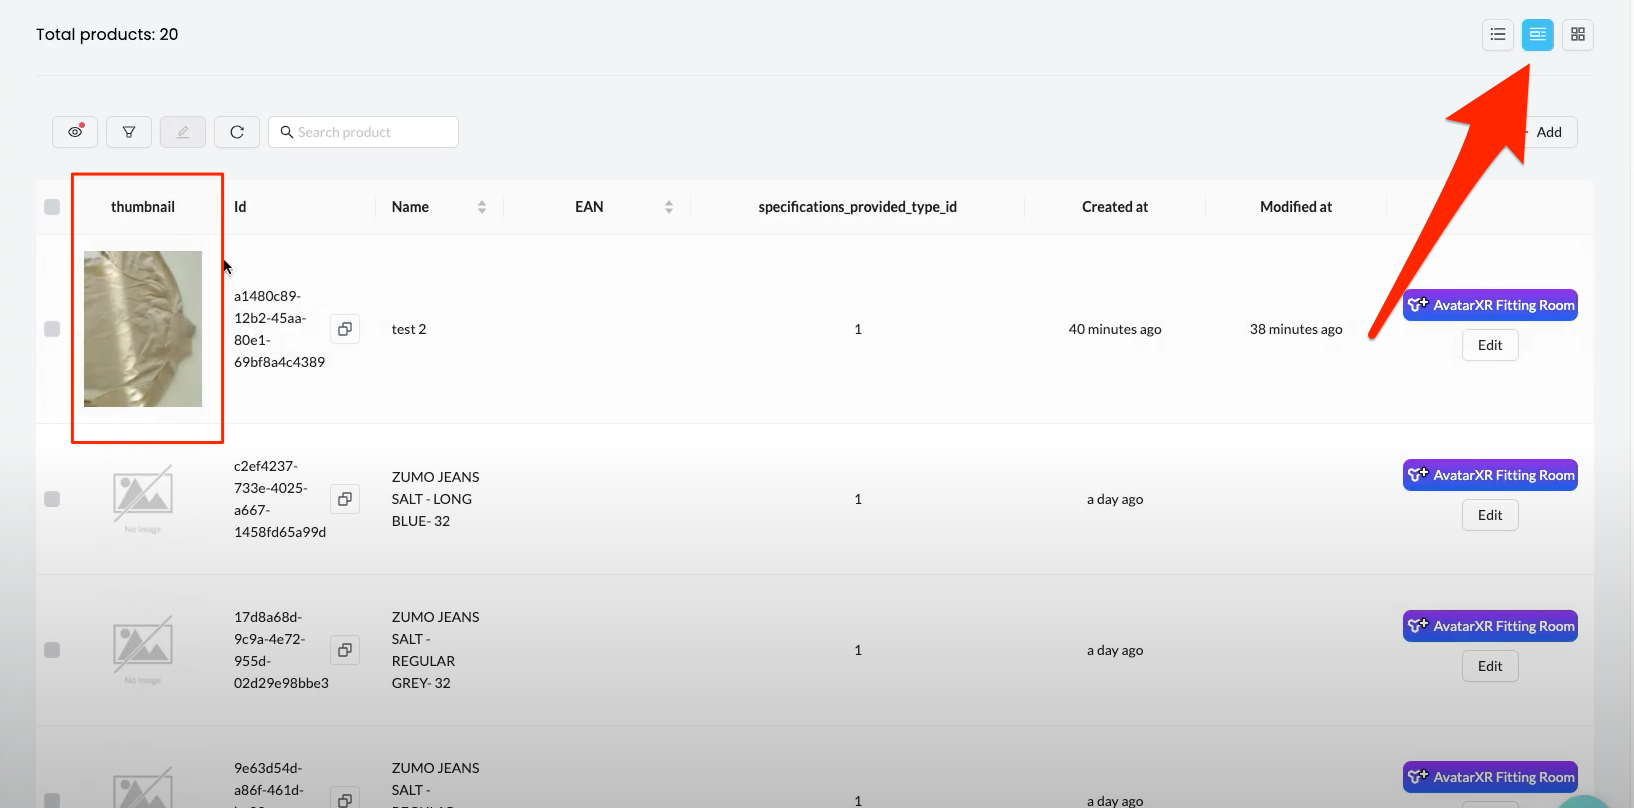
To see the result, click on the middle of the three buttons at the top right, under the profile in the corner. Here you will see the products with the new thumbnails.
To change the old thumbnail, you must set the old one to unpublished and the new one to published.
You now have the knowledge and skills to successfully upload and configure thumbnails in OutfitXR.
