How to test a product in a fitting room
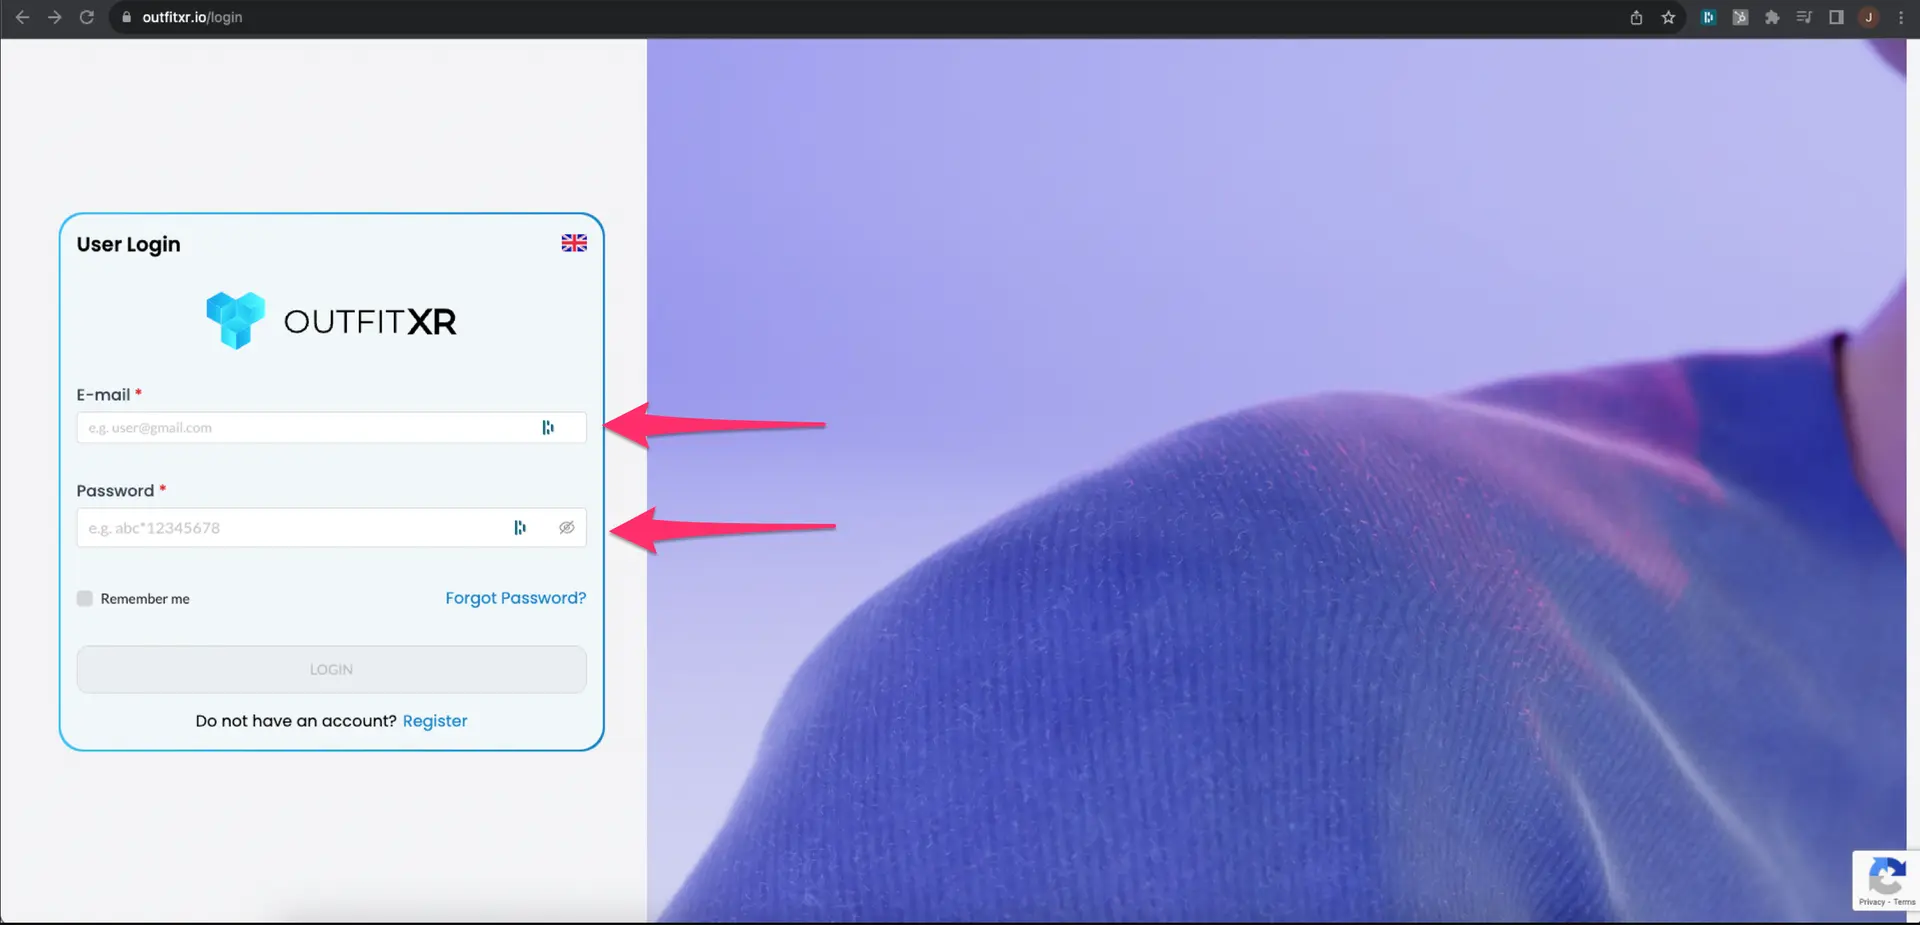
1. Login to OutfitXR.
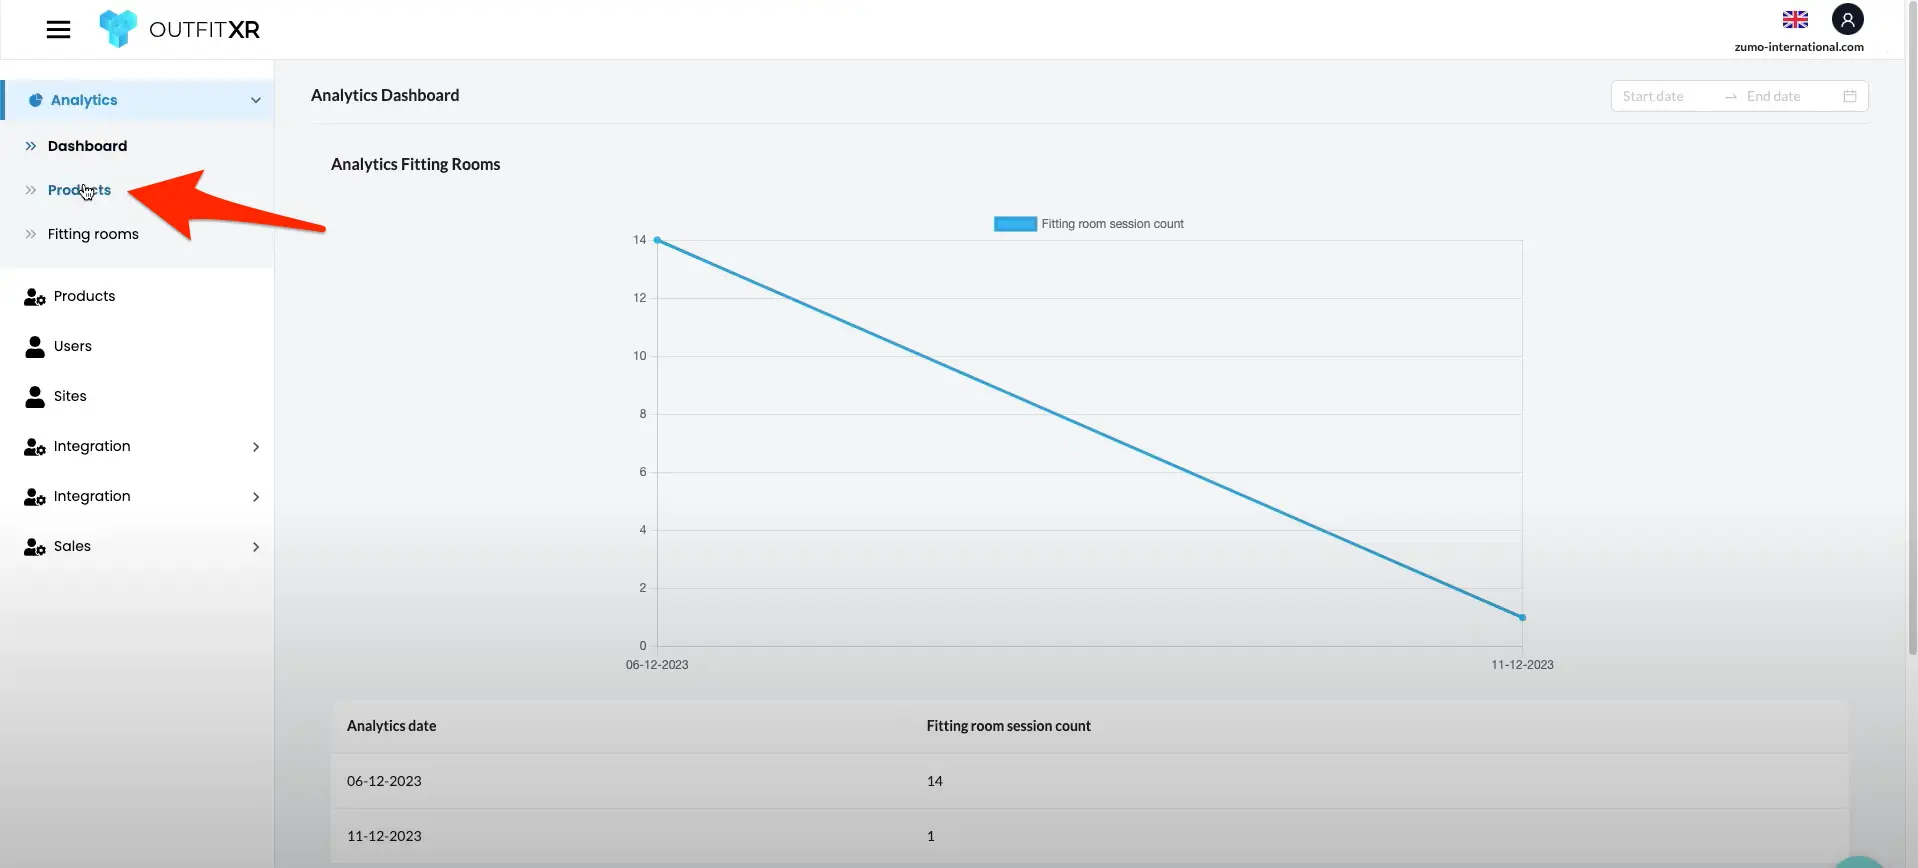
On the left side on is the menu click on "products".
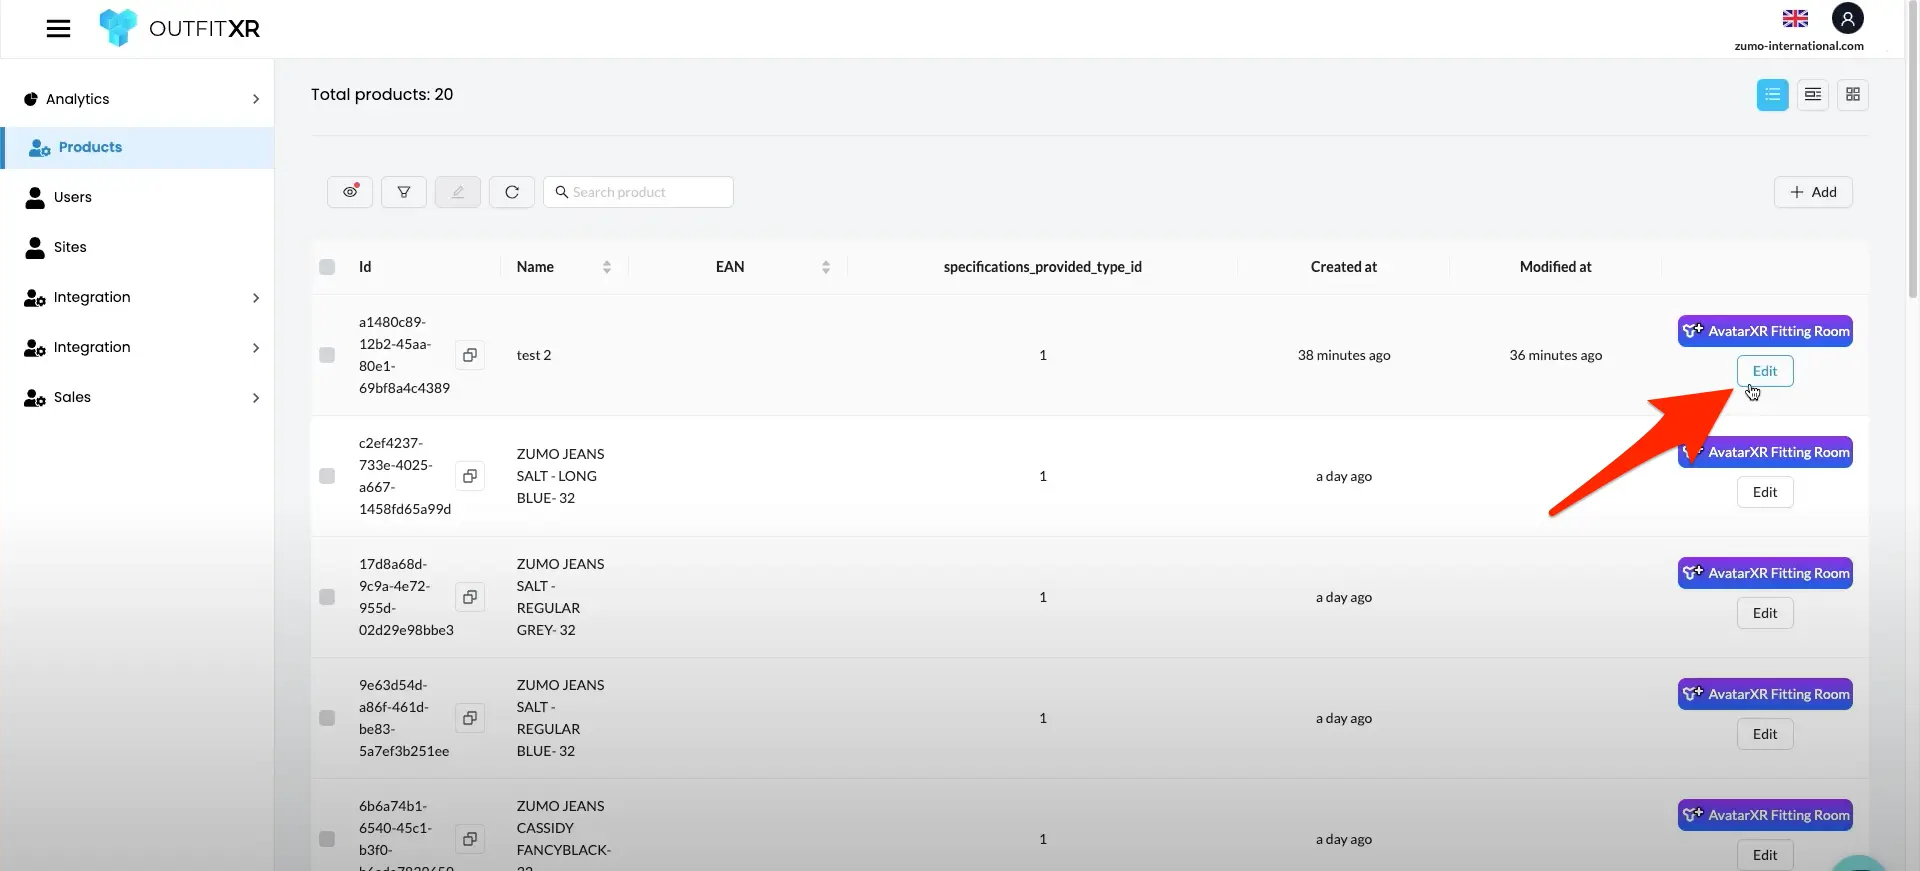
Choose a exiting item you want to test out, now click on "edit".
Go to the assets tab, upload a Marvelous Design zip.
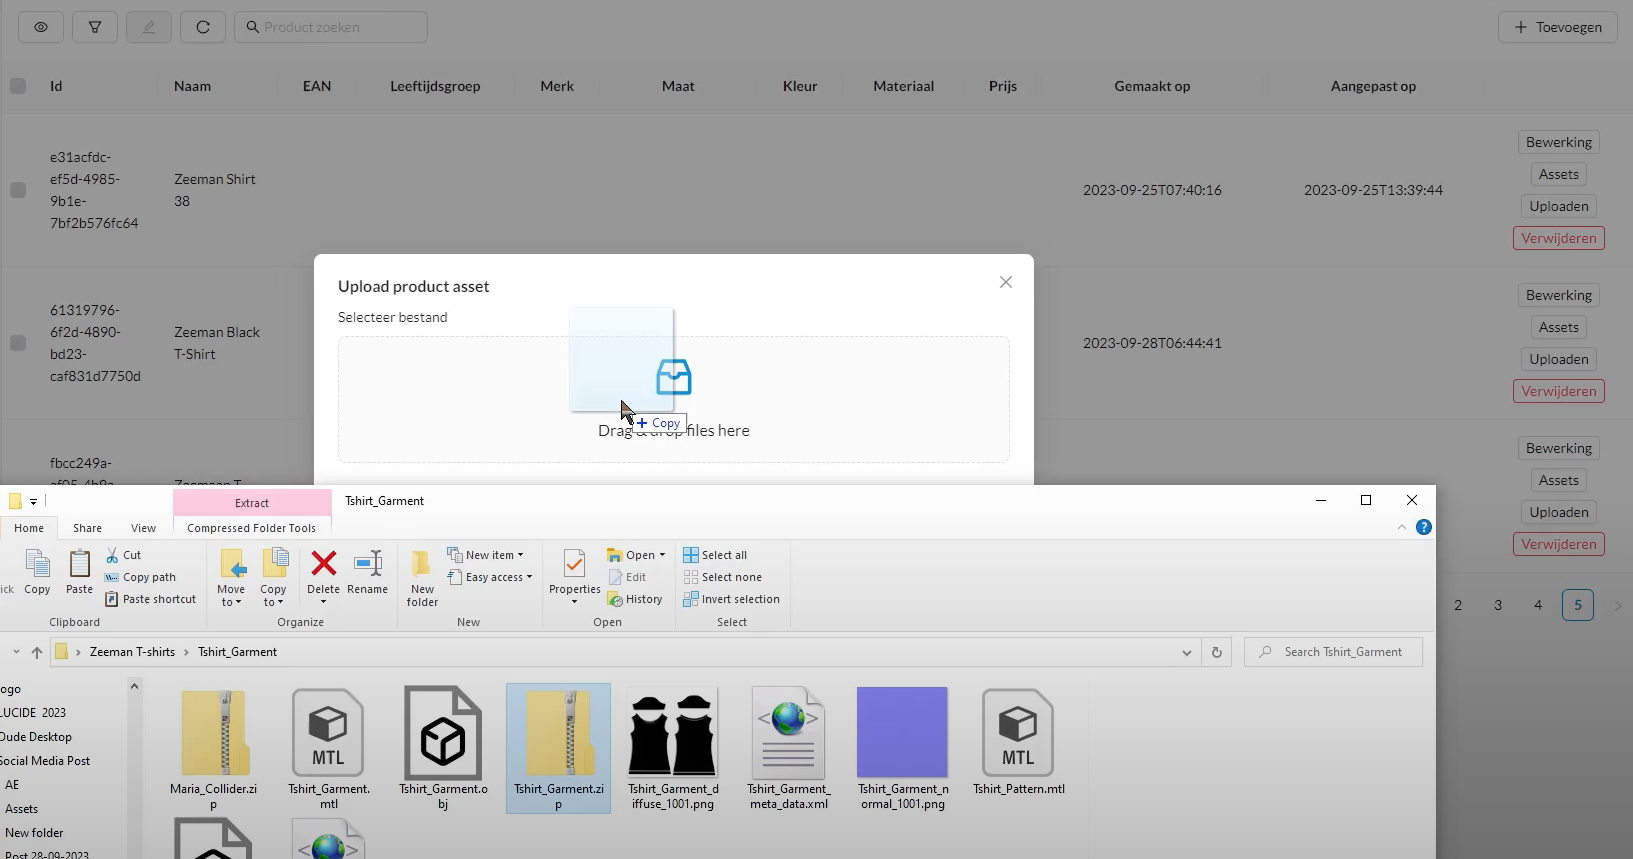
After uploading do back to the assests tab, now you can see the files have been uploaded.
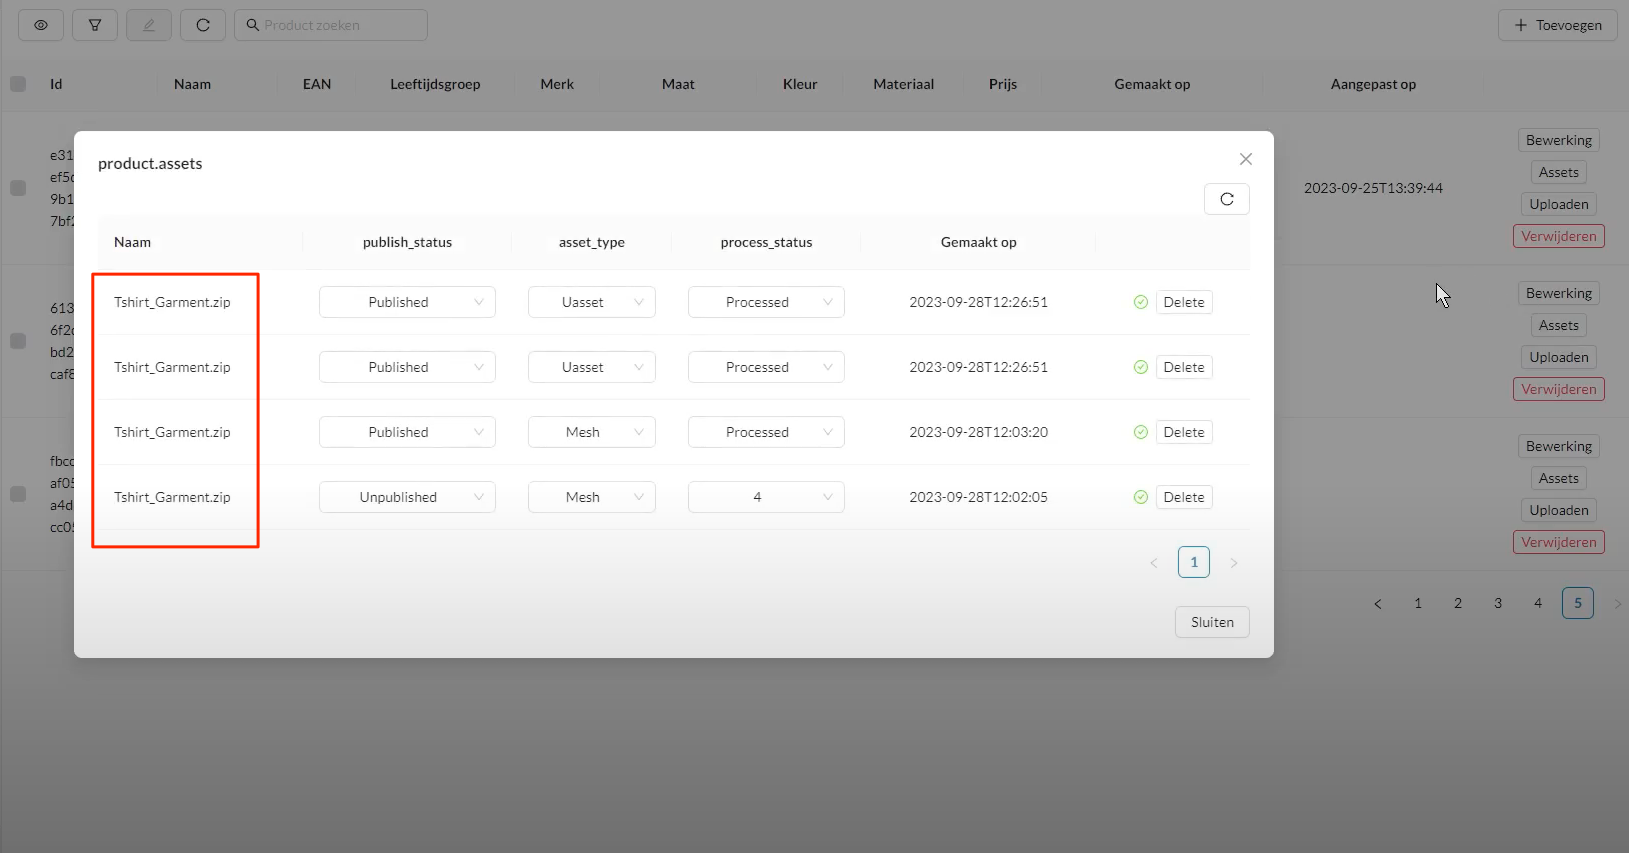
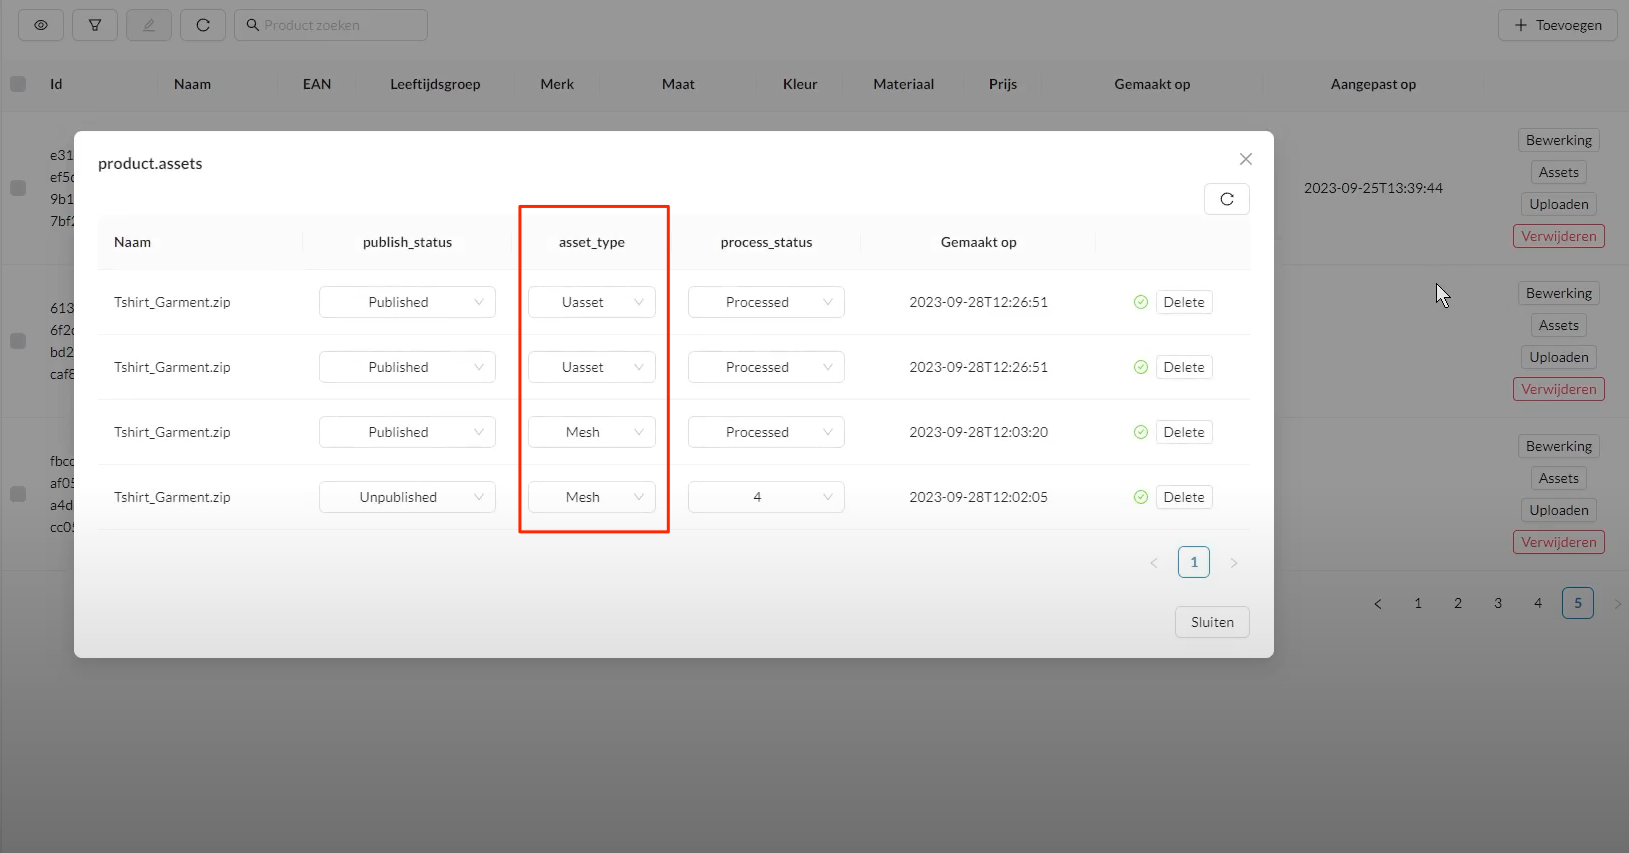
Now we are gonna change the "asset_type" we have some options here "Mesh", "thumbnail" and "uassets" these are the most important, the other ones can we ignore for now.
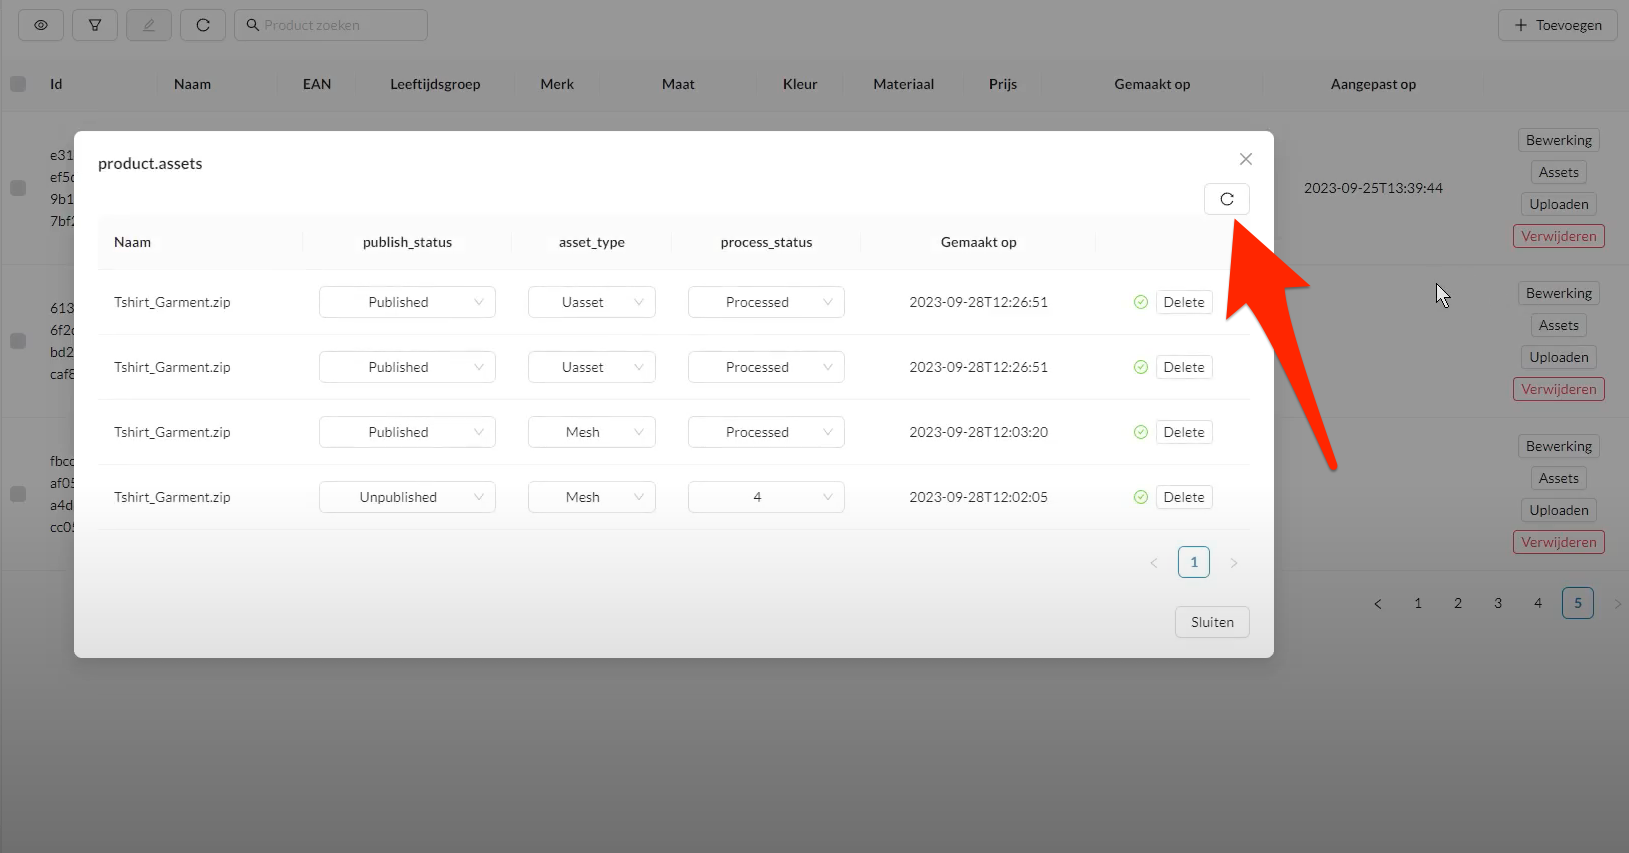
Now click on the refresh button, now your changes will be applied, close the pop up screen.
8.In AvatarXR, the edited product is automatically added to your cart. Add it to the fitting room by clicking on ‘Add to fitting room’.
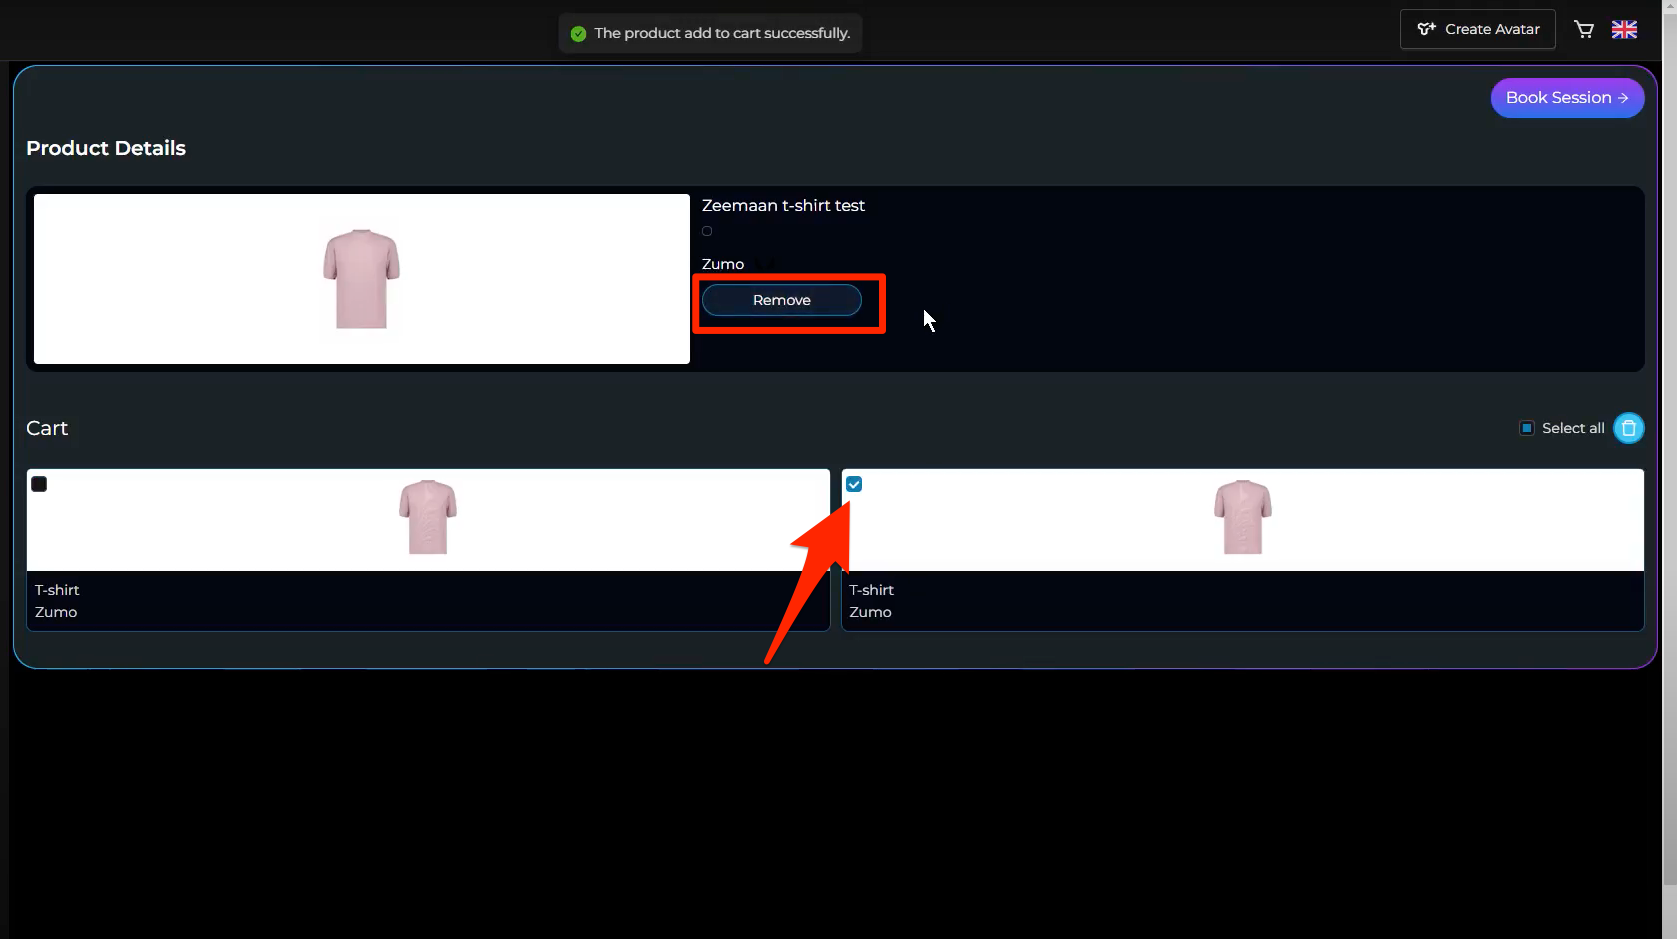
Next, select the product and click on 'View in fitting room' to see it in a digital environment.
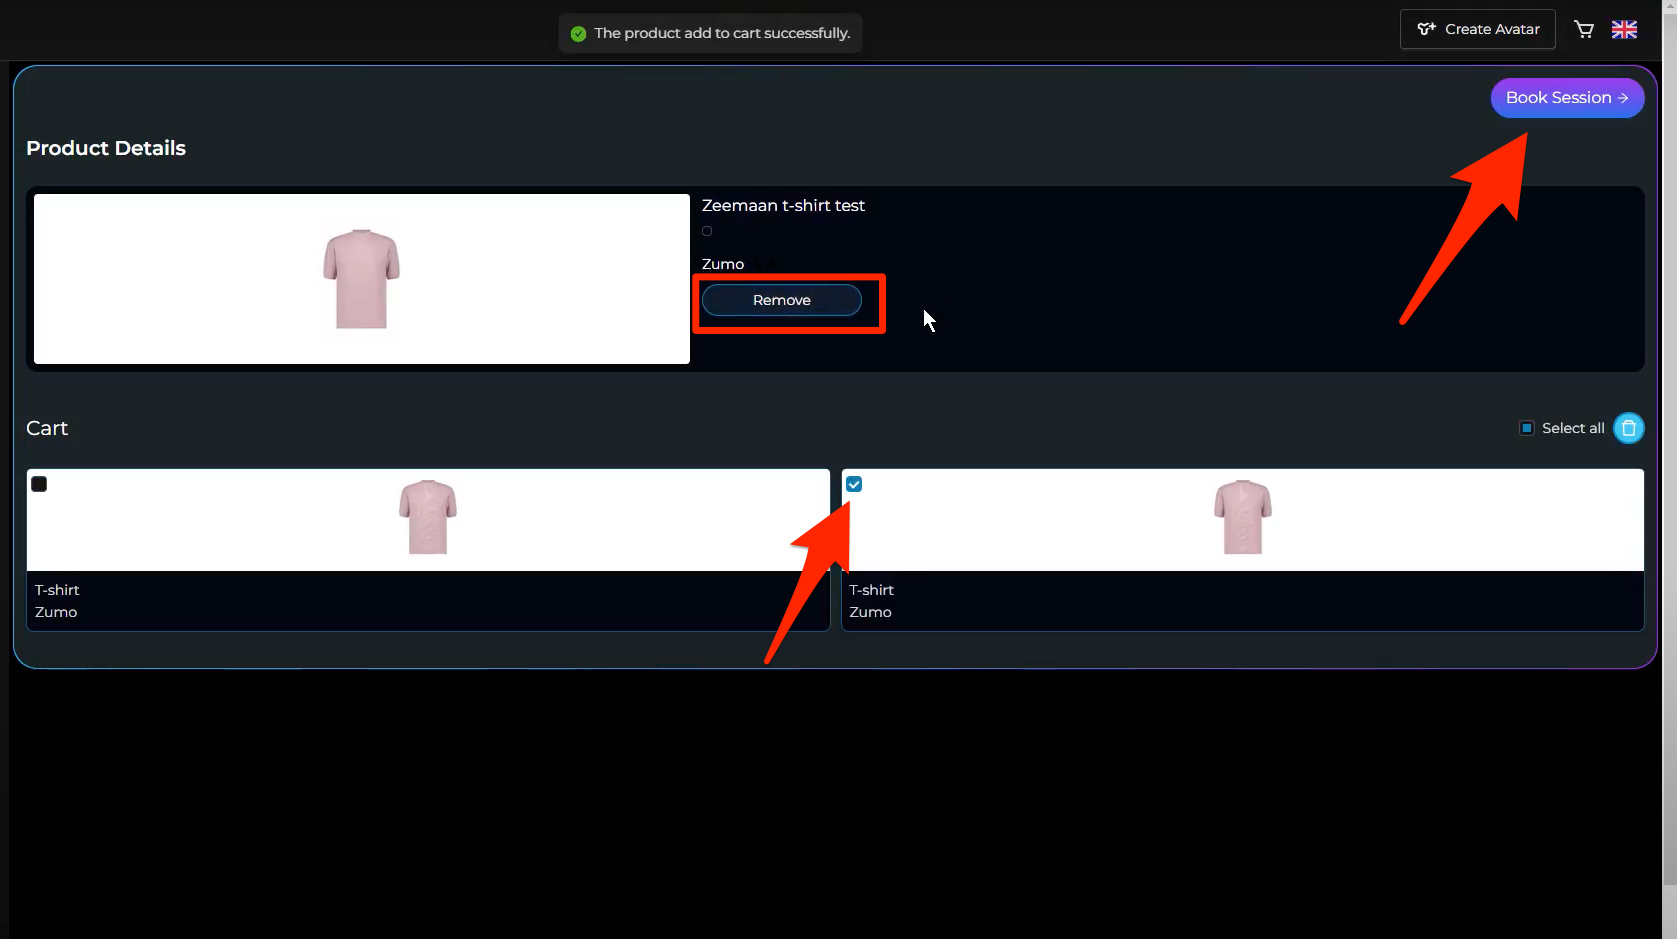
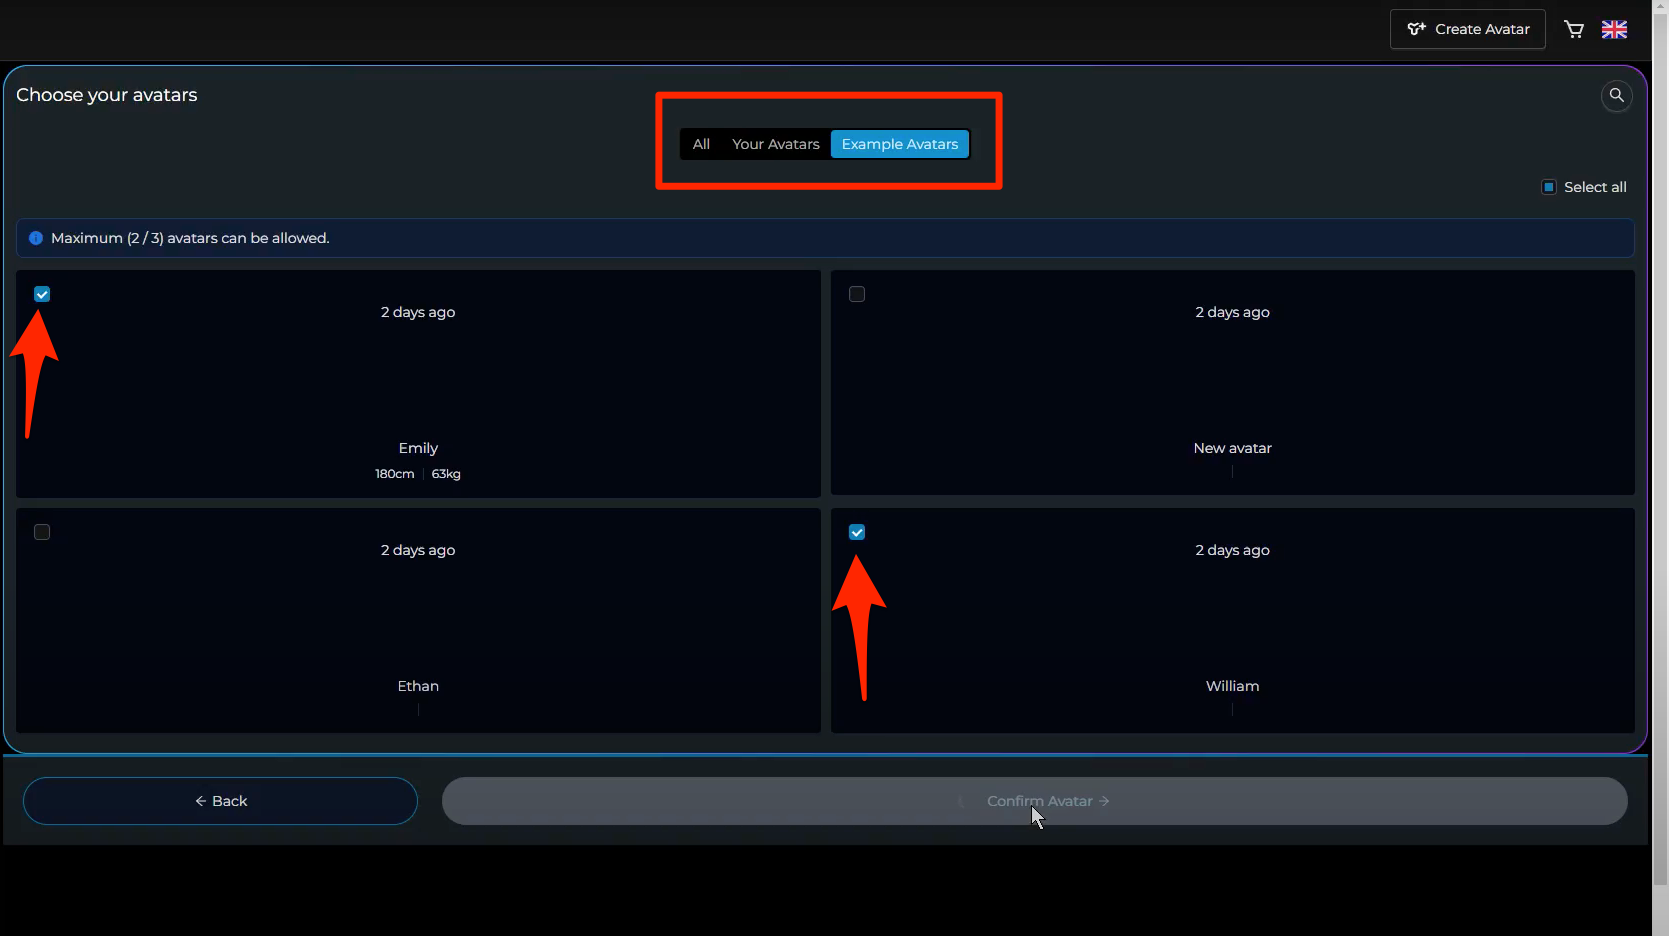
Choose an avatar, it can be your own creation or an example avatar. Confirm your choice and test the product on the avatar. Pay attention to the color indicator at the bottom right to see if the product fits well.
