How to create specification for t-shirt
Front Length: measure from the highest point of the shoulder to the bottom edge line of the t-shirt.
Front Length 2: the lowest point of the neck circumference to the bottom edge line of the t-shirt.
Back Length: the lowest point of the neck circumference, may consider the midpoint of the t-shirt, to the bottom edge.
Chest Width.
Waist Width.
Hem Width.
Shoulder Width.
Shoulders Length: width across both shoulders.
Sleeve Length.
Armhole Depth: the top of the shoulder seam to the underarm point.
Sleeve Width.
Side Length: the underarm point to the hem.
Neck Circumference.
Neck Width.
These measurements will serve as a foundation for digitalizing the T-shirt Garment and creating an accurate digital pattern.
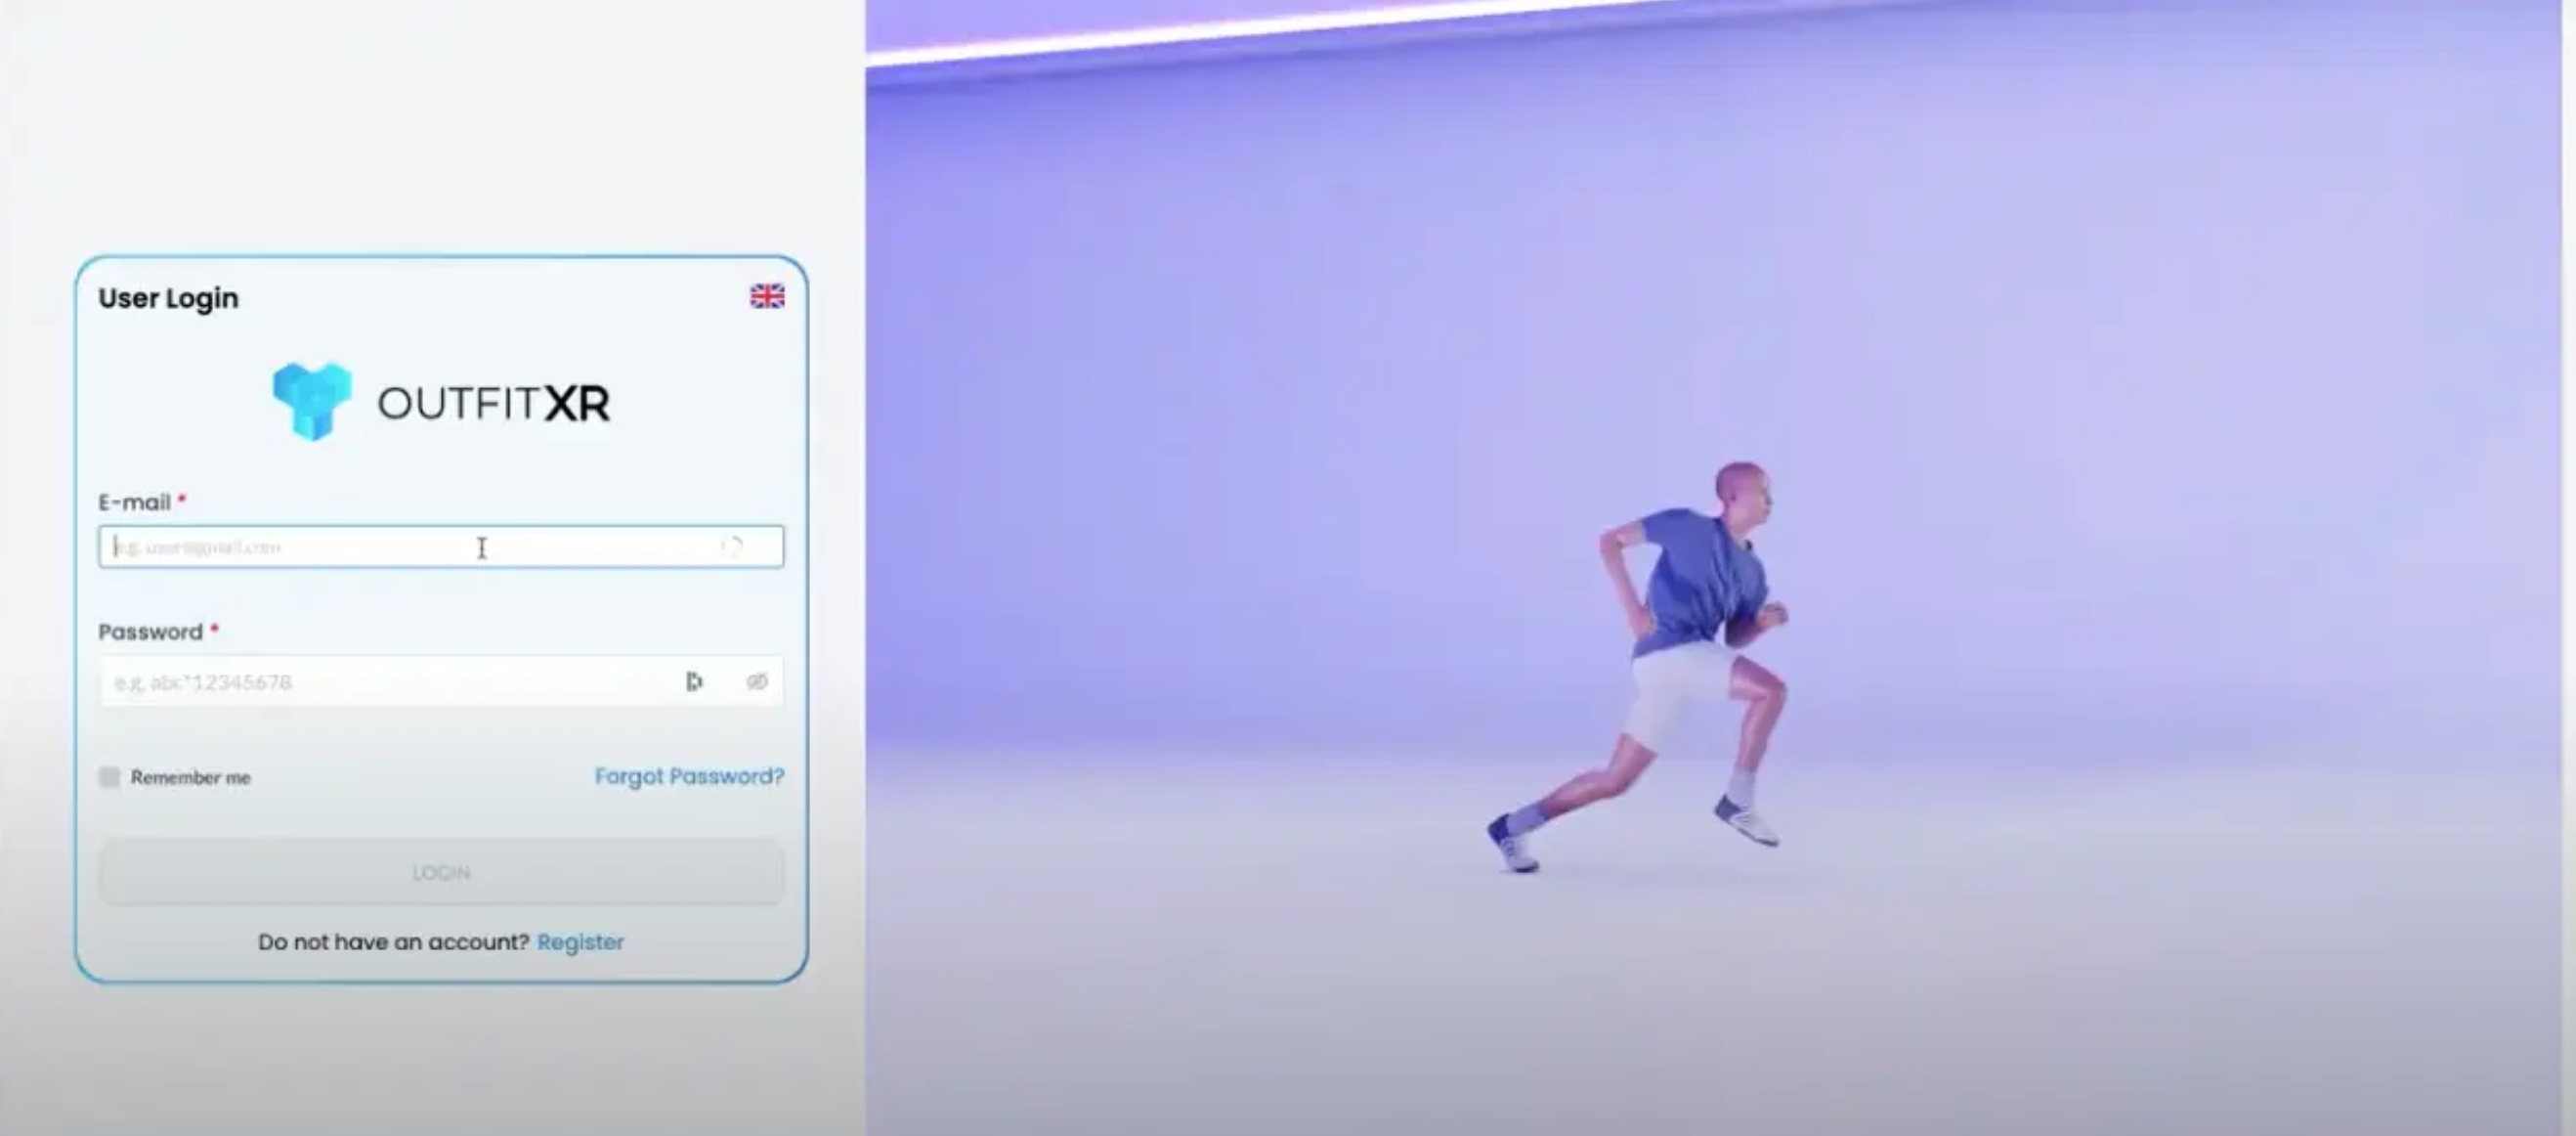
Now go to OutfitXR.io and login to your account.
On the left side you will see your menu, now click on products.

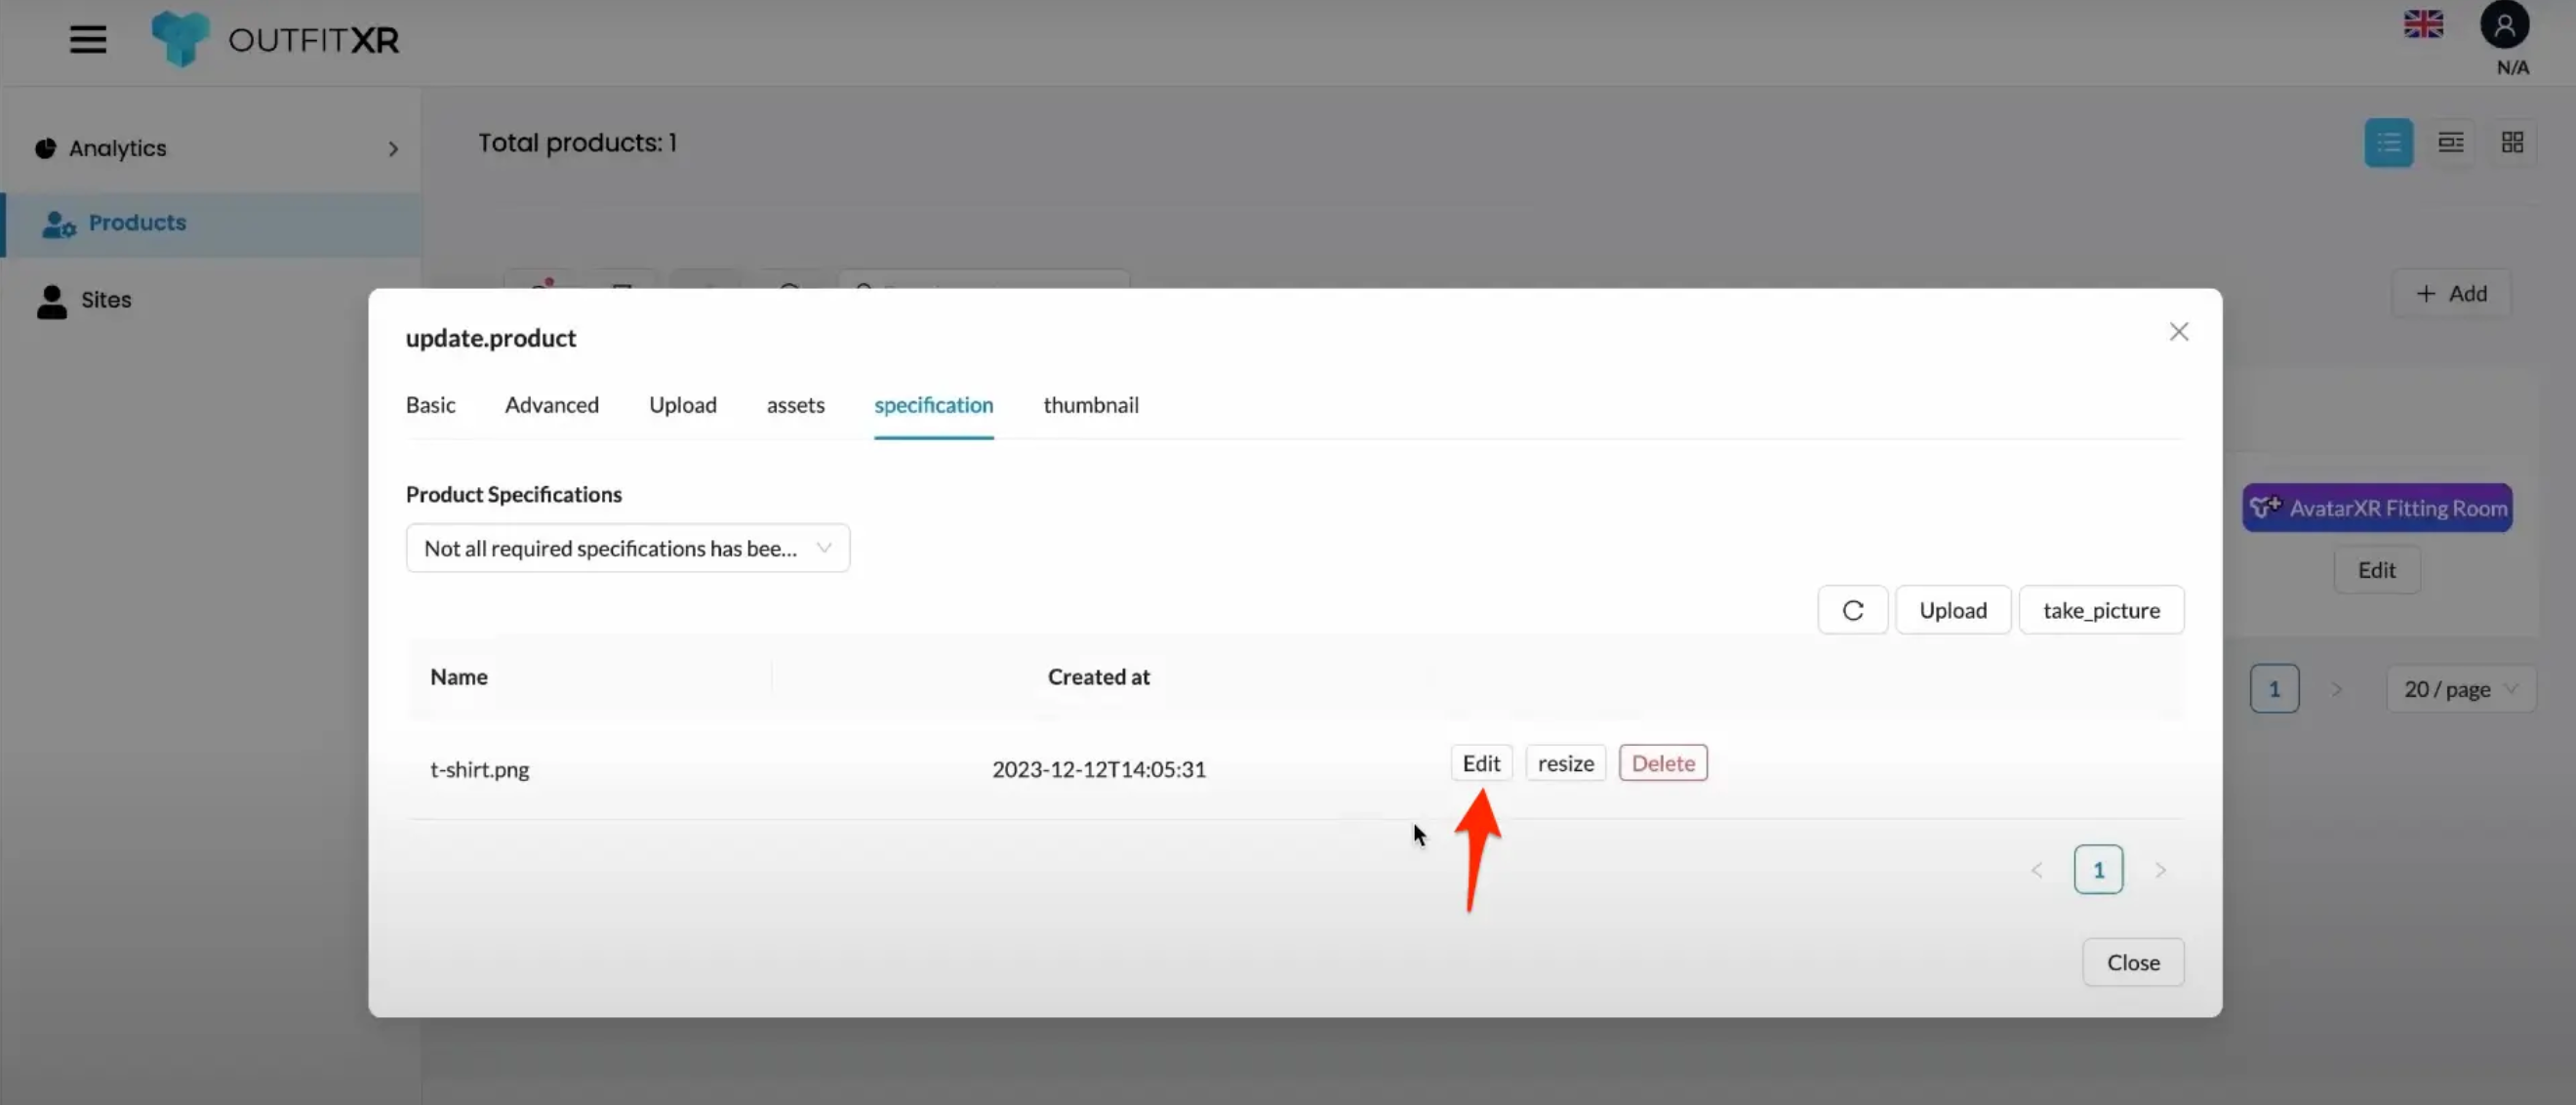
Click edit and go to the specification tab.

Click edit and go to the specification tab.
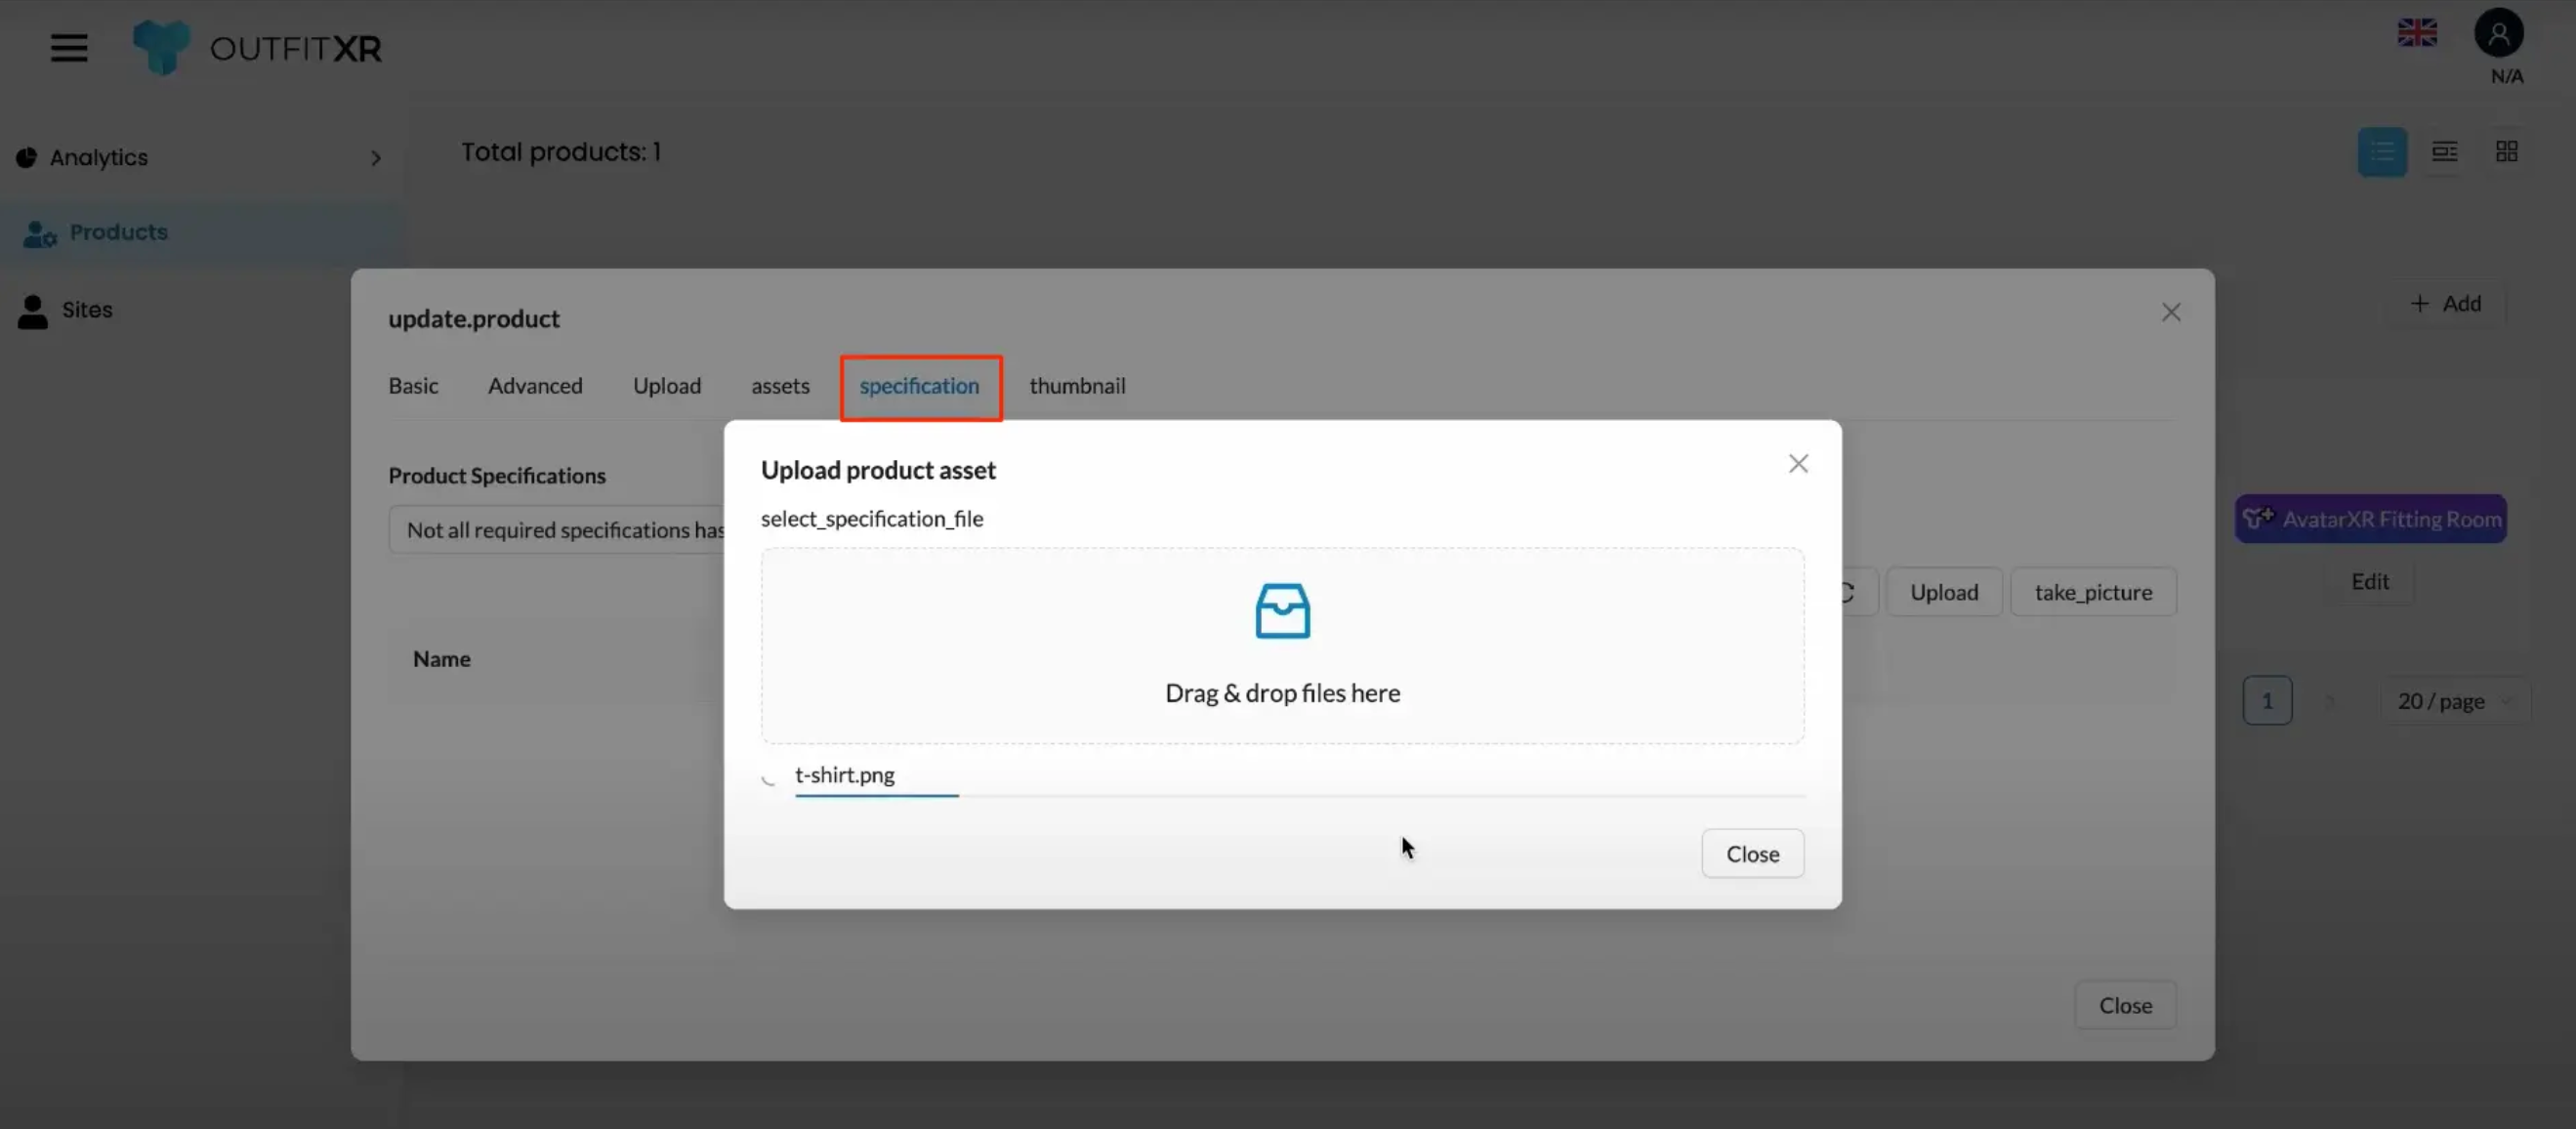
Now click on upload simply add your image to be uploaded.
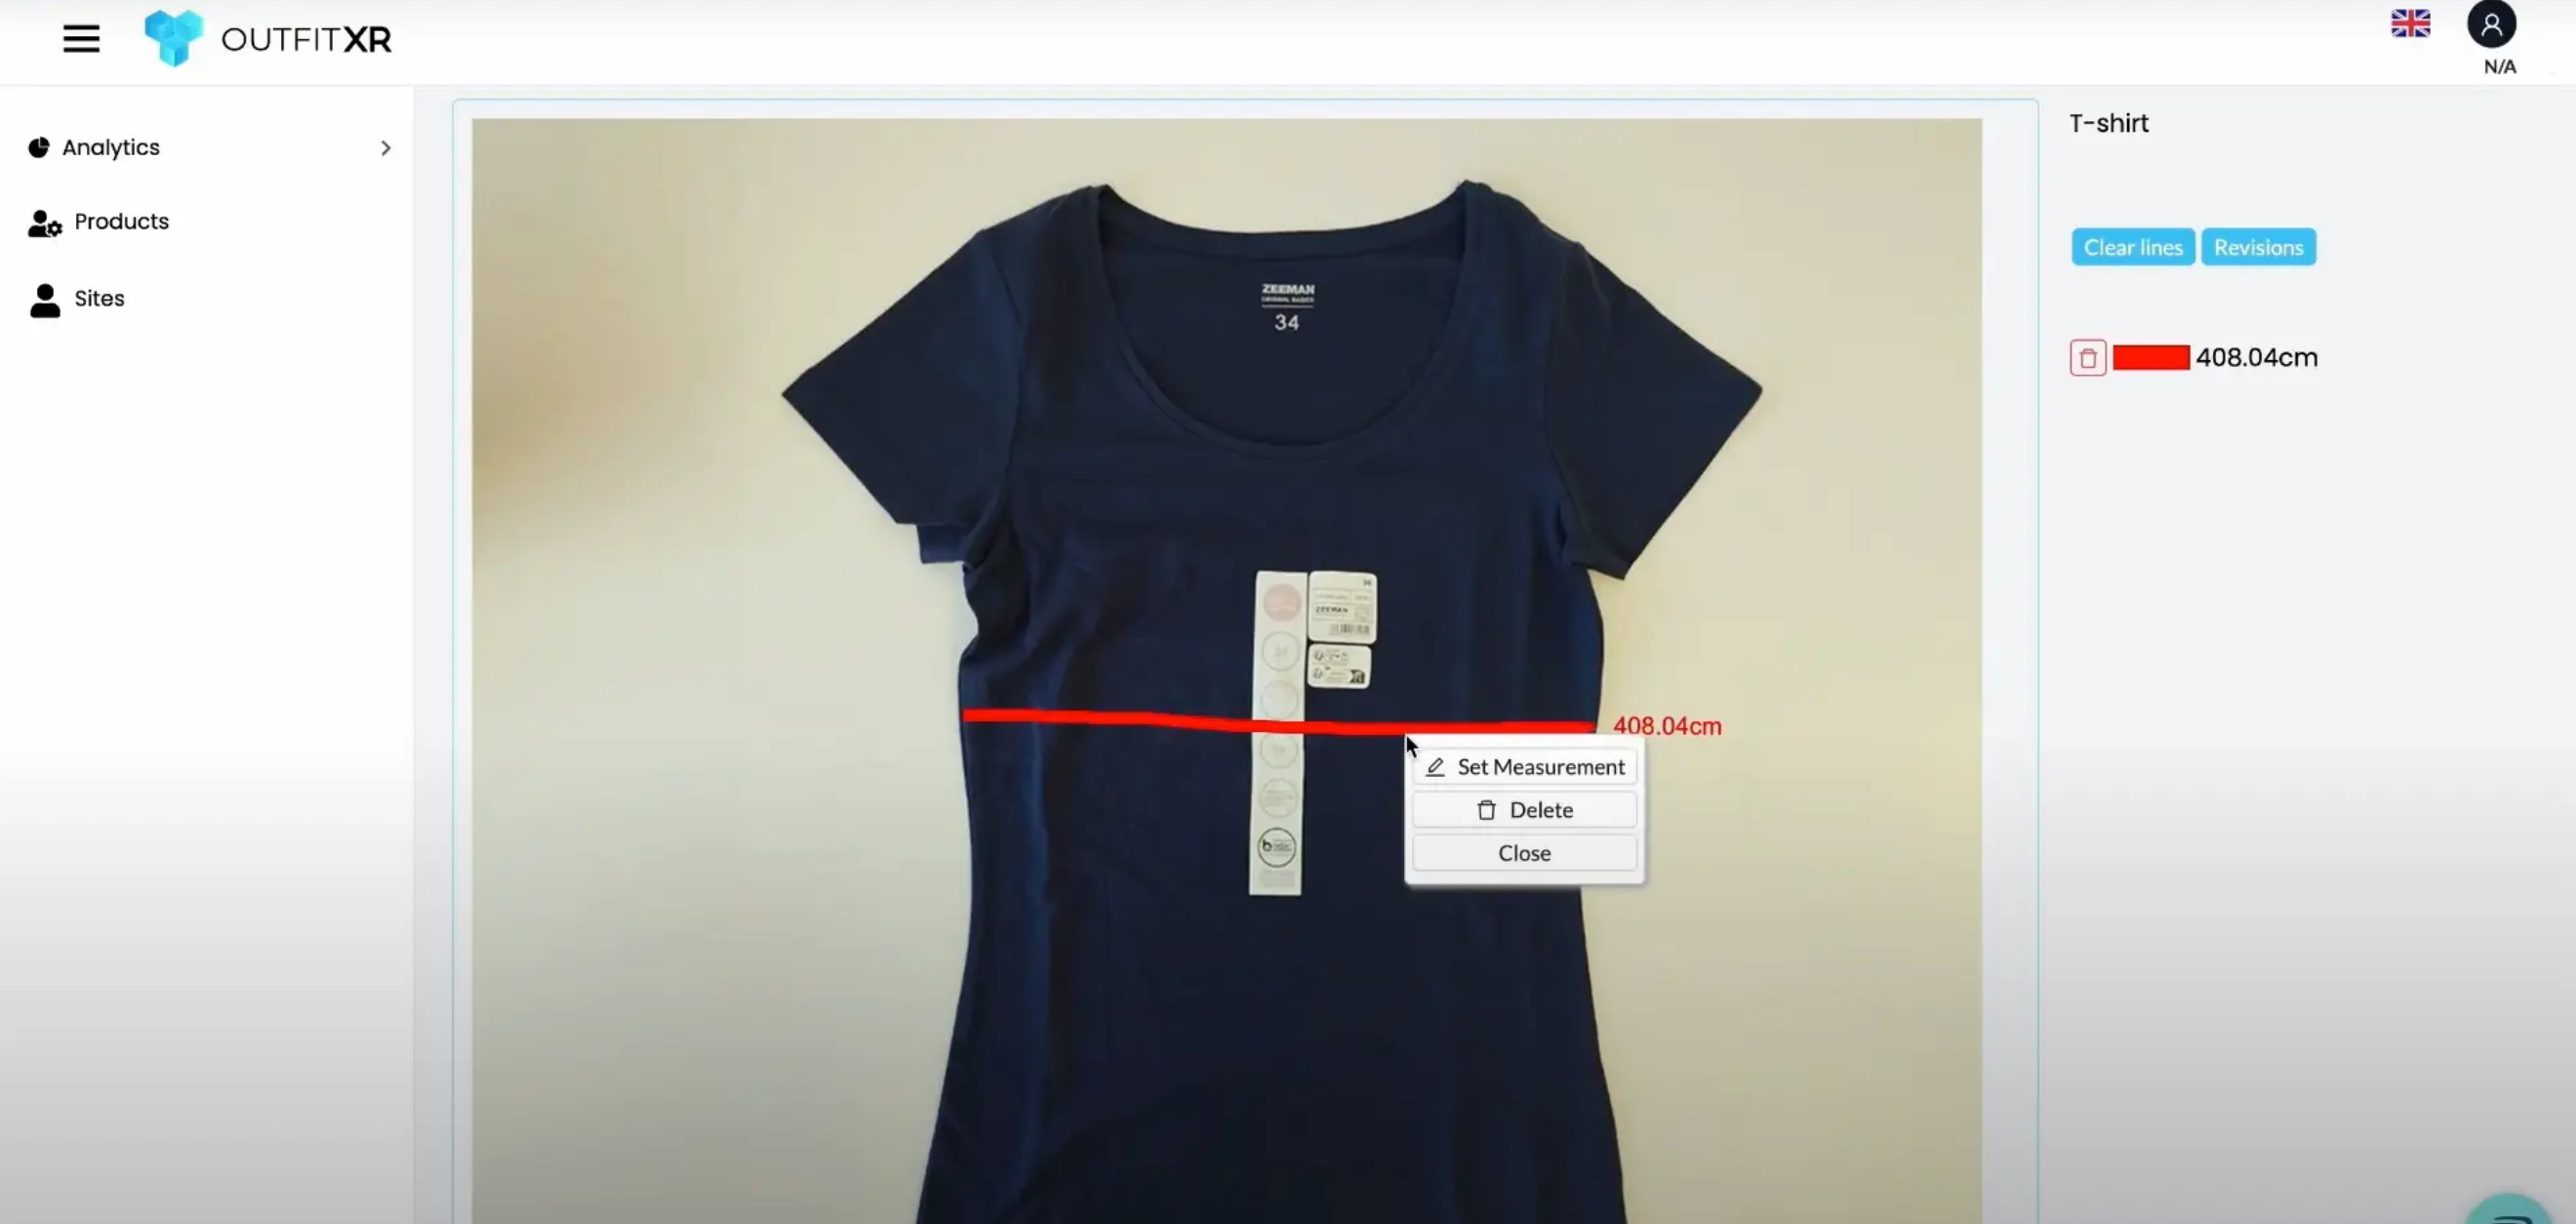
We are gonna repeat these step chest width, hem width, waist width, shoulder width and neck width. Let’s take chest width simply draw a line from beginning to end now right click on the line we can set here a manuel measurement now click on save.
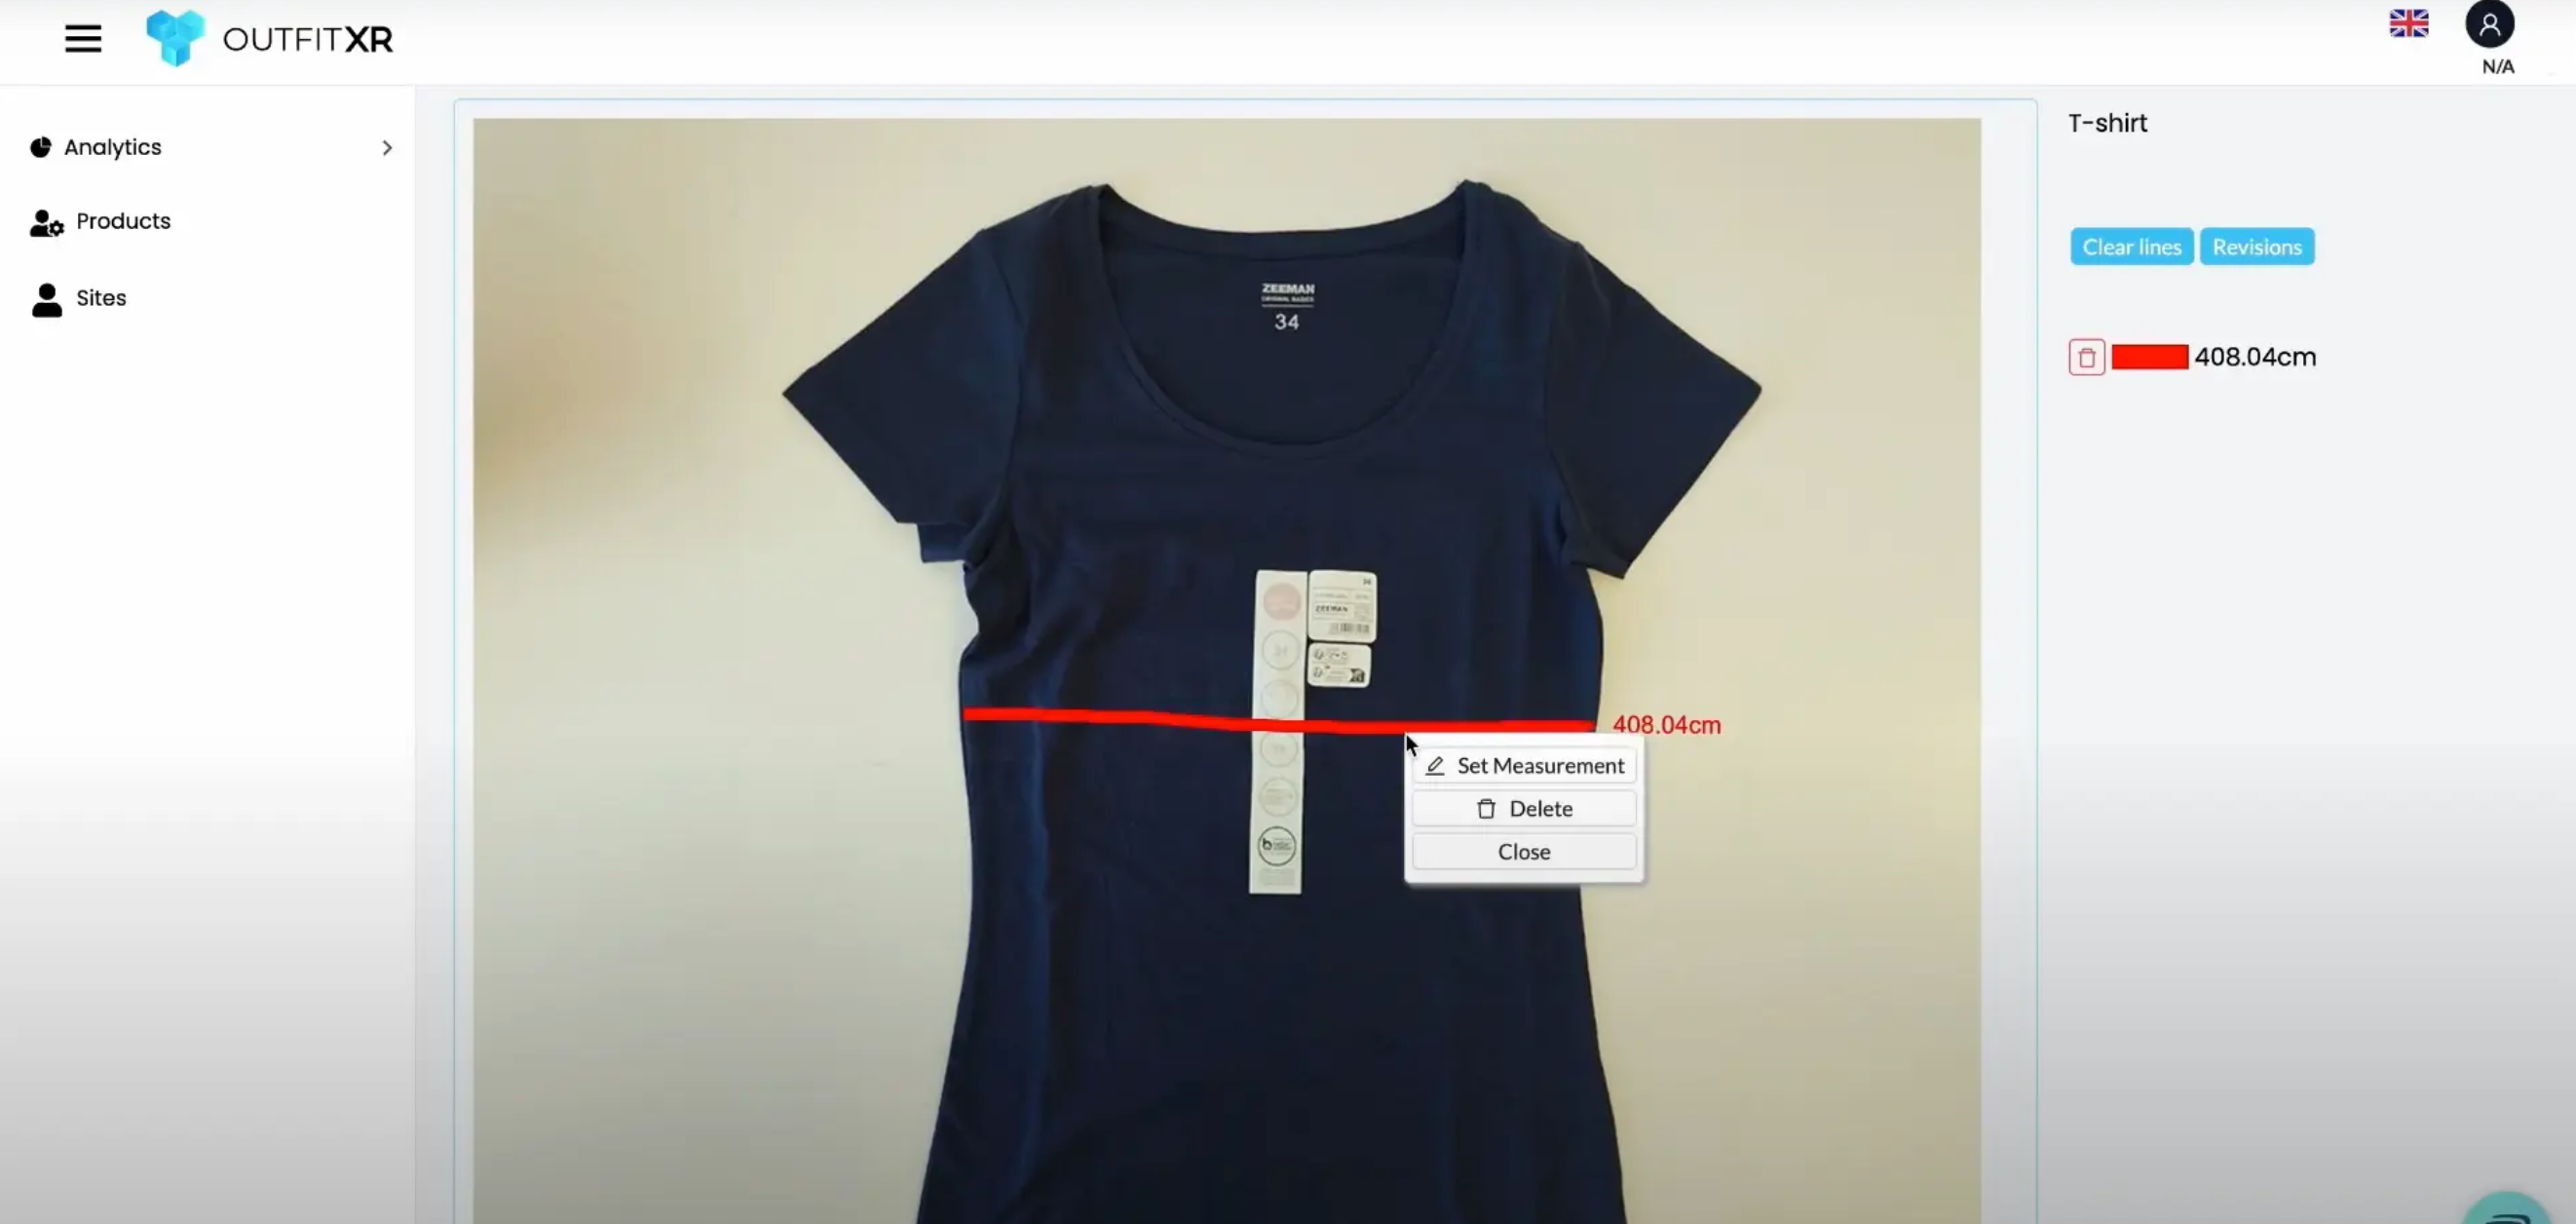
Now repeat this for the other measurements. If you are not happy how the line looks delete it by right clicking and select delete.
